
In less than a month Em will be turning one. This first birthday feels so incredibly special because at this time last year, we never would have dreamed of celebrating this day. We're planning on having a low key ice cream party at home when Derek gets home from work on her special day, but I still want to go ahead and decorate the house a little bit for the occasion.
We decided to have an ice cream party because Em just barely started eating solids this last month, and we're not incredibly confident in her ability to eat cake without choking, so we thought an ice cream party would be a safer alternative. Once I had the ice cream party idea, I decided that all the decor, and theme of the evening should be ice cream related.
I was googling ice cream decor ideas and this ice cream cone garland came up in google images, but then the link from the picture to the website didn't work, so I don't know where this idea originated from, but I just winged it from the picture that I saw, and I think that it turned out great! If you're in the market for an ice cream cone garland, than just follow the tutorial below!

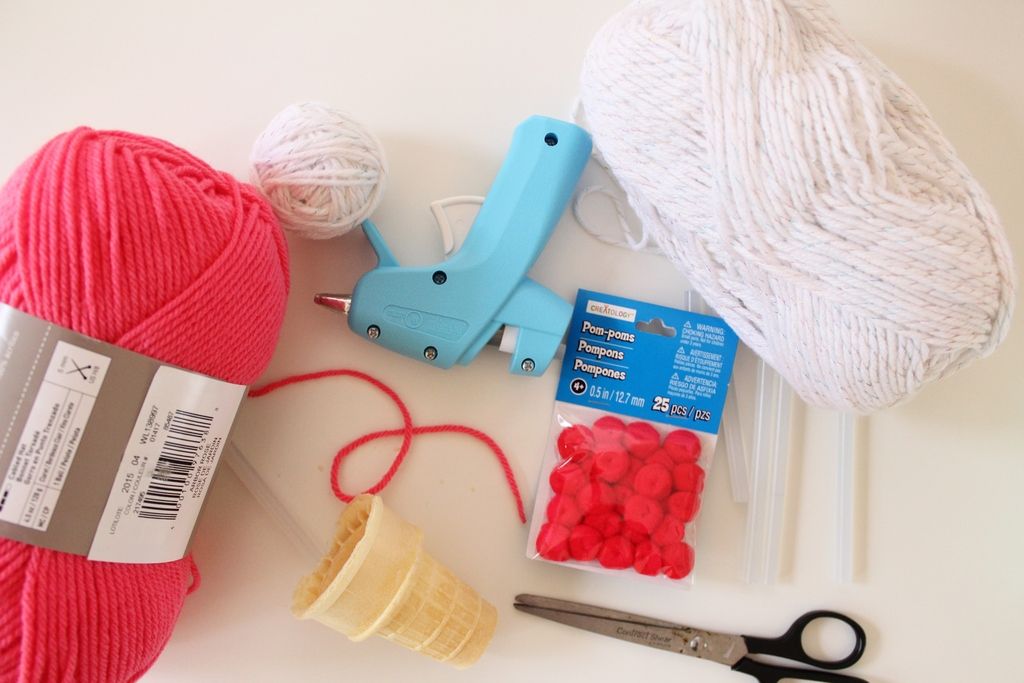
Supplies:
2 different colors of yarn
12 ice cream cones
red pom-poms
hot glue gun & glue
12 pieces of printer paper
twine
Directions:
Crumple one piece of printer paper into a ball.
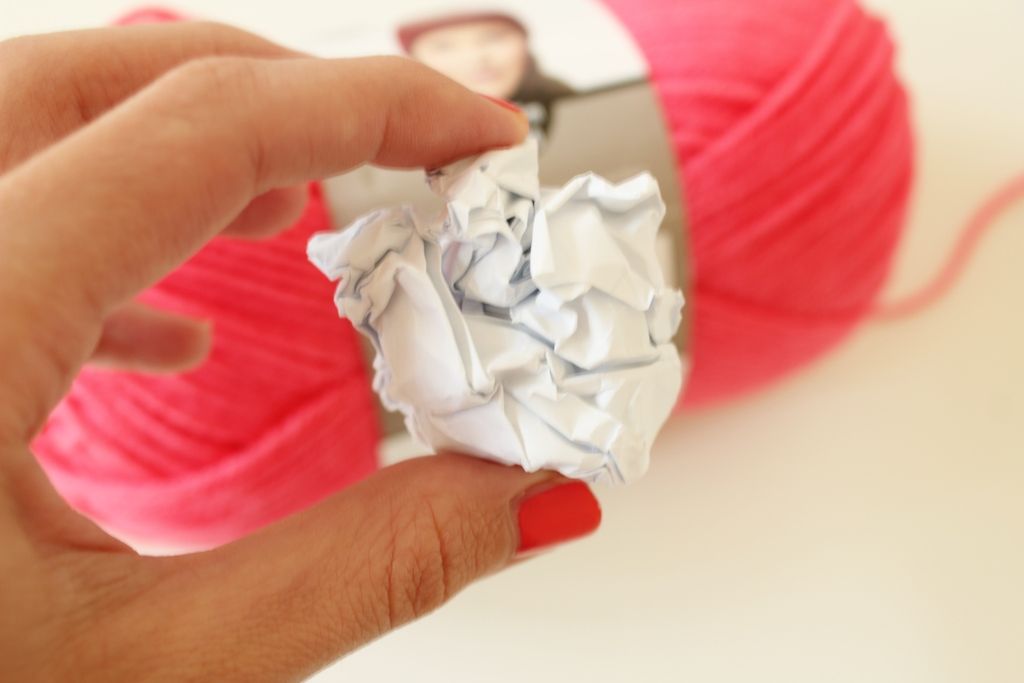
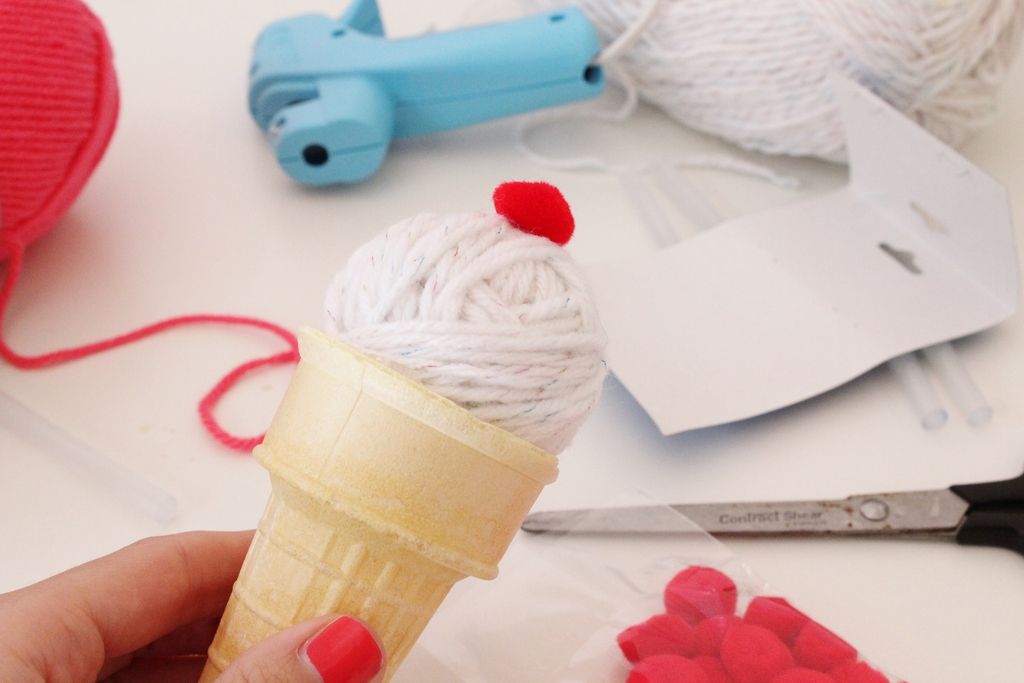
Wrap one color of yarn around the ball of paper until you get a ball that is about the size of a scoop of ice cream. Once you got your ball of yarn to the size you want, tuck the loose end of yarn undeer the other threads so that it's not sticking out.

Run hot glue around the edge of the cone.
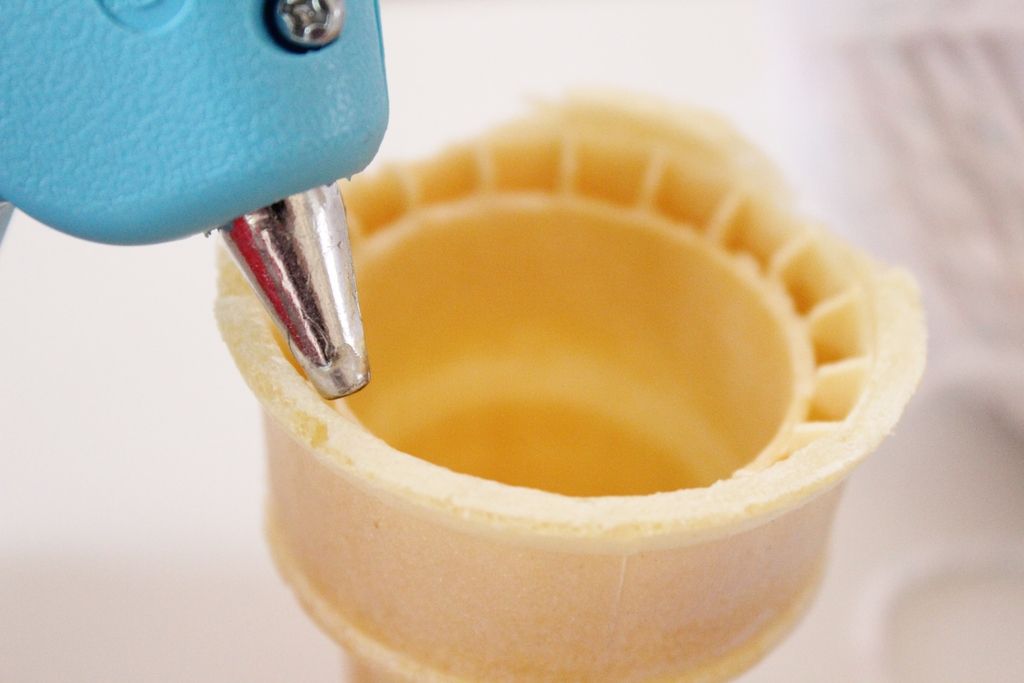
Lightly press the ball of yarn into the cone.
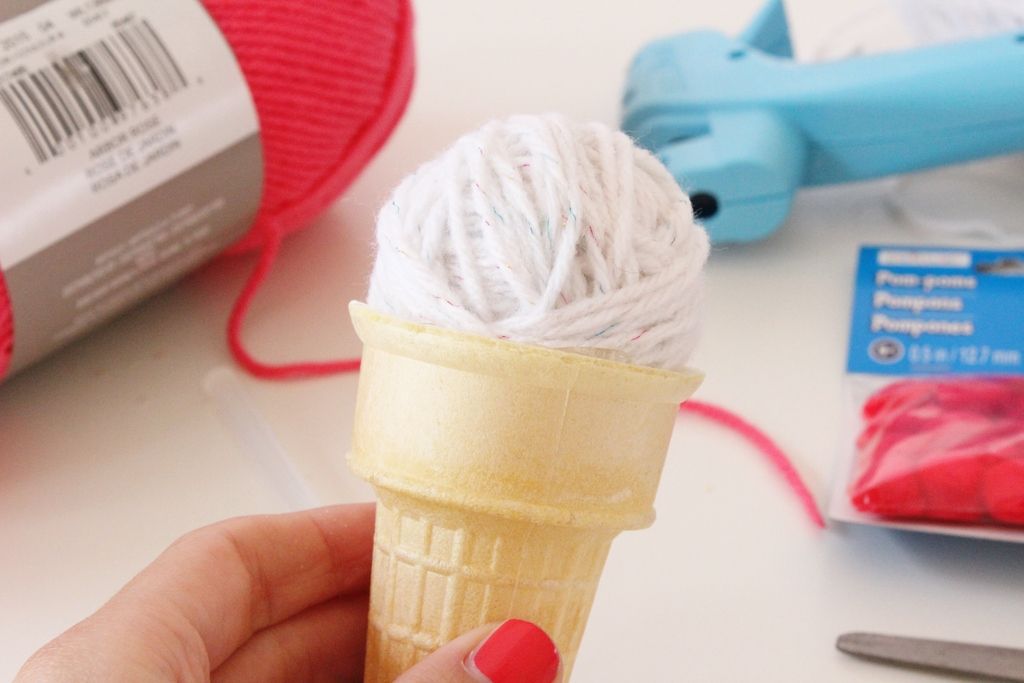
Place a dot of hot glue on top of the ball of yarn, and then place one of the red pom-poms on top. Repeat this process 11 more times until all the cones are filled. Remember to do 6 cones in one color of yarn, and then 6 cones in the other color of yarn.
Once you have all your cones filled, run the twine through the backside of all of the cones, preferably through pieces of yarn that are running vertically so that all the cones hang on the string in the same direction.

Carefully hang the garland in a secure place being sure to not crack or chip any of the cones!
That is too fun, and turned out so cute! Love the idea <3
ReplyDeleteGina
Pink Wings
this is so cool! really impressive, i love it!
ReplyDeleteSUPER cute!
ReplyDeletethejoifullife.com
SUPER cute!
ReplyDeletethejoifullife.com
This is the most adorable thing I've ever seen. Super cute. I kind of want to make some just for fun to hang up in the kitchen for summer! :)
ReplyDeletethis is such a cute idea
ReplyDeletex
http://anoddgirl.blogspot.com.au
wow amazing DIY , love it .. looks so cool and also not to difficult to do
ReplyDeletealso check out my blog
https://thefashionsateen.wordpress.com/
Hey girl I love your blog post!
ReplyDeletePS enter my giveaway please!
Hey girl I LOVE your blog! So cute and fun!
Love,
Brianna
btw I am having a GIVEAWAY and I want you to win!
http://www.cityfashiongirl.com/2015/07/bows-before-bros-ft-mikarose-clothing.html
Whaaaat. These are absolutely adorable! Love it! Thanks for sharing :)
ReplyDeleteRobin
http://hellorobinblog.com
This is adorable!
ReplyDelete