Featured Slider

Modern Traditional Board and Batten Entry Tour

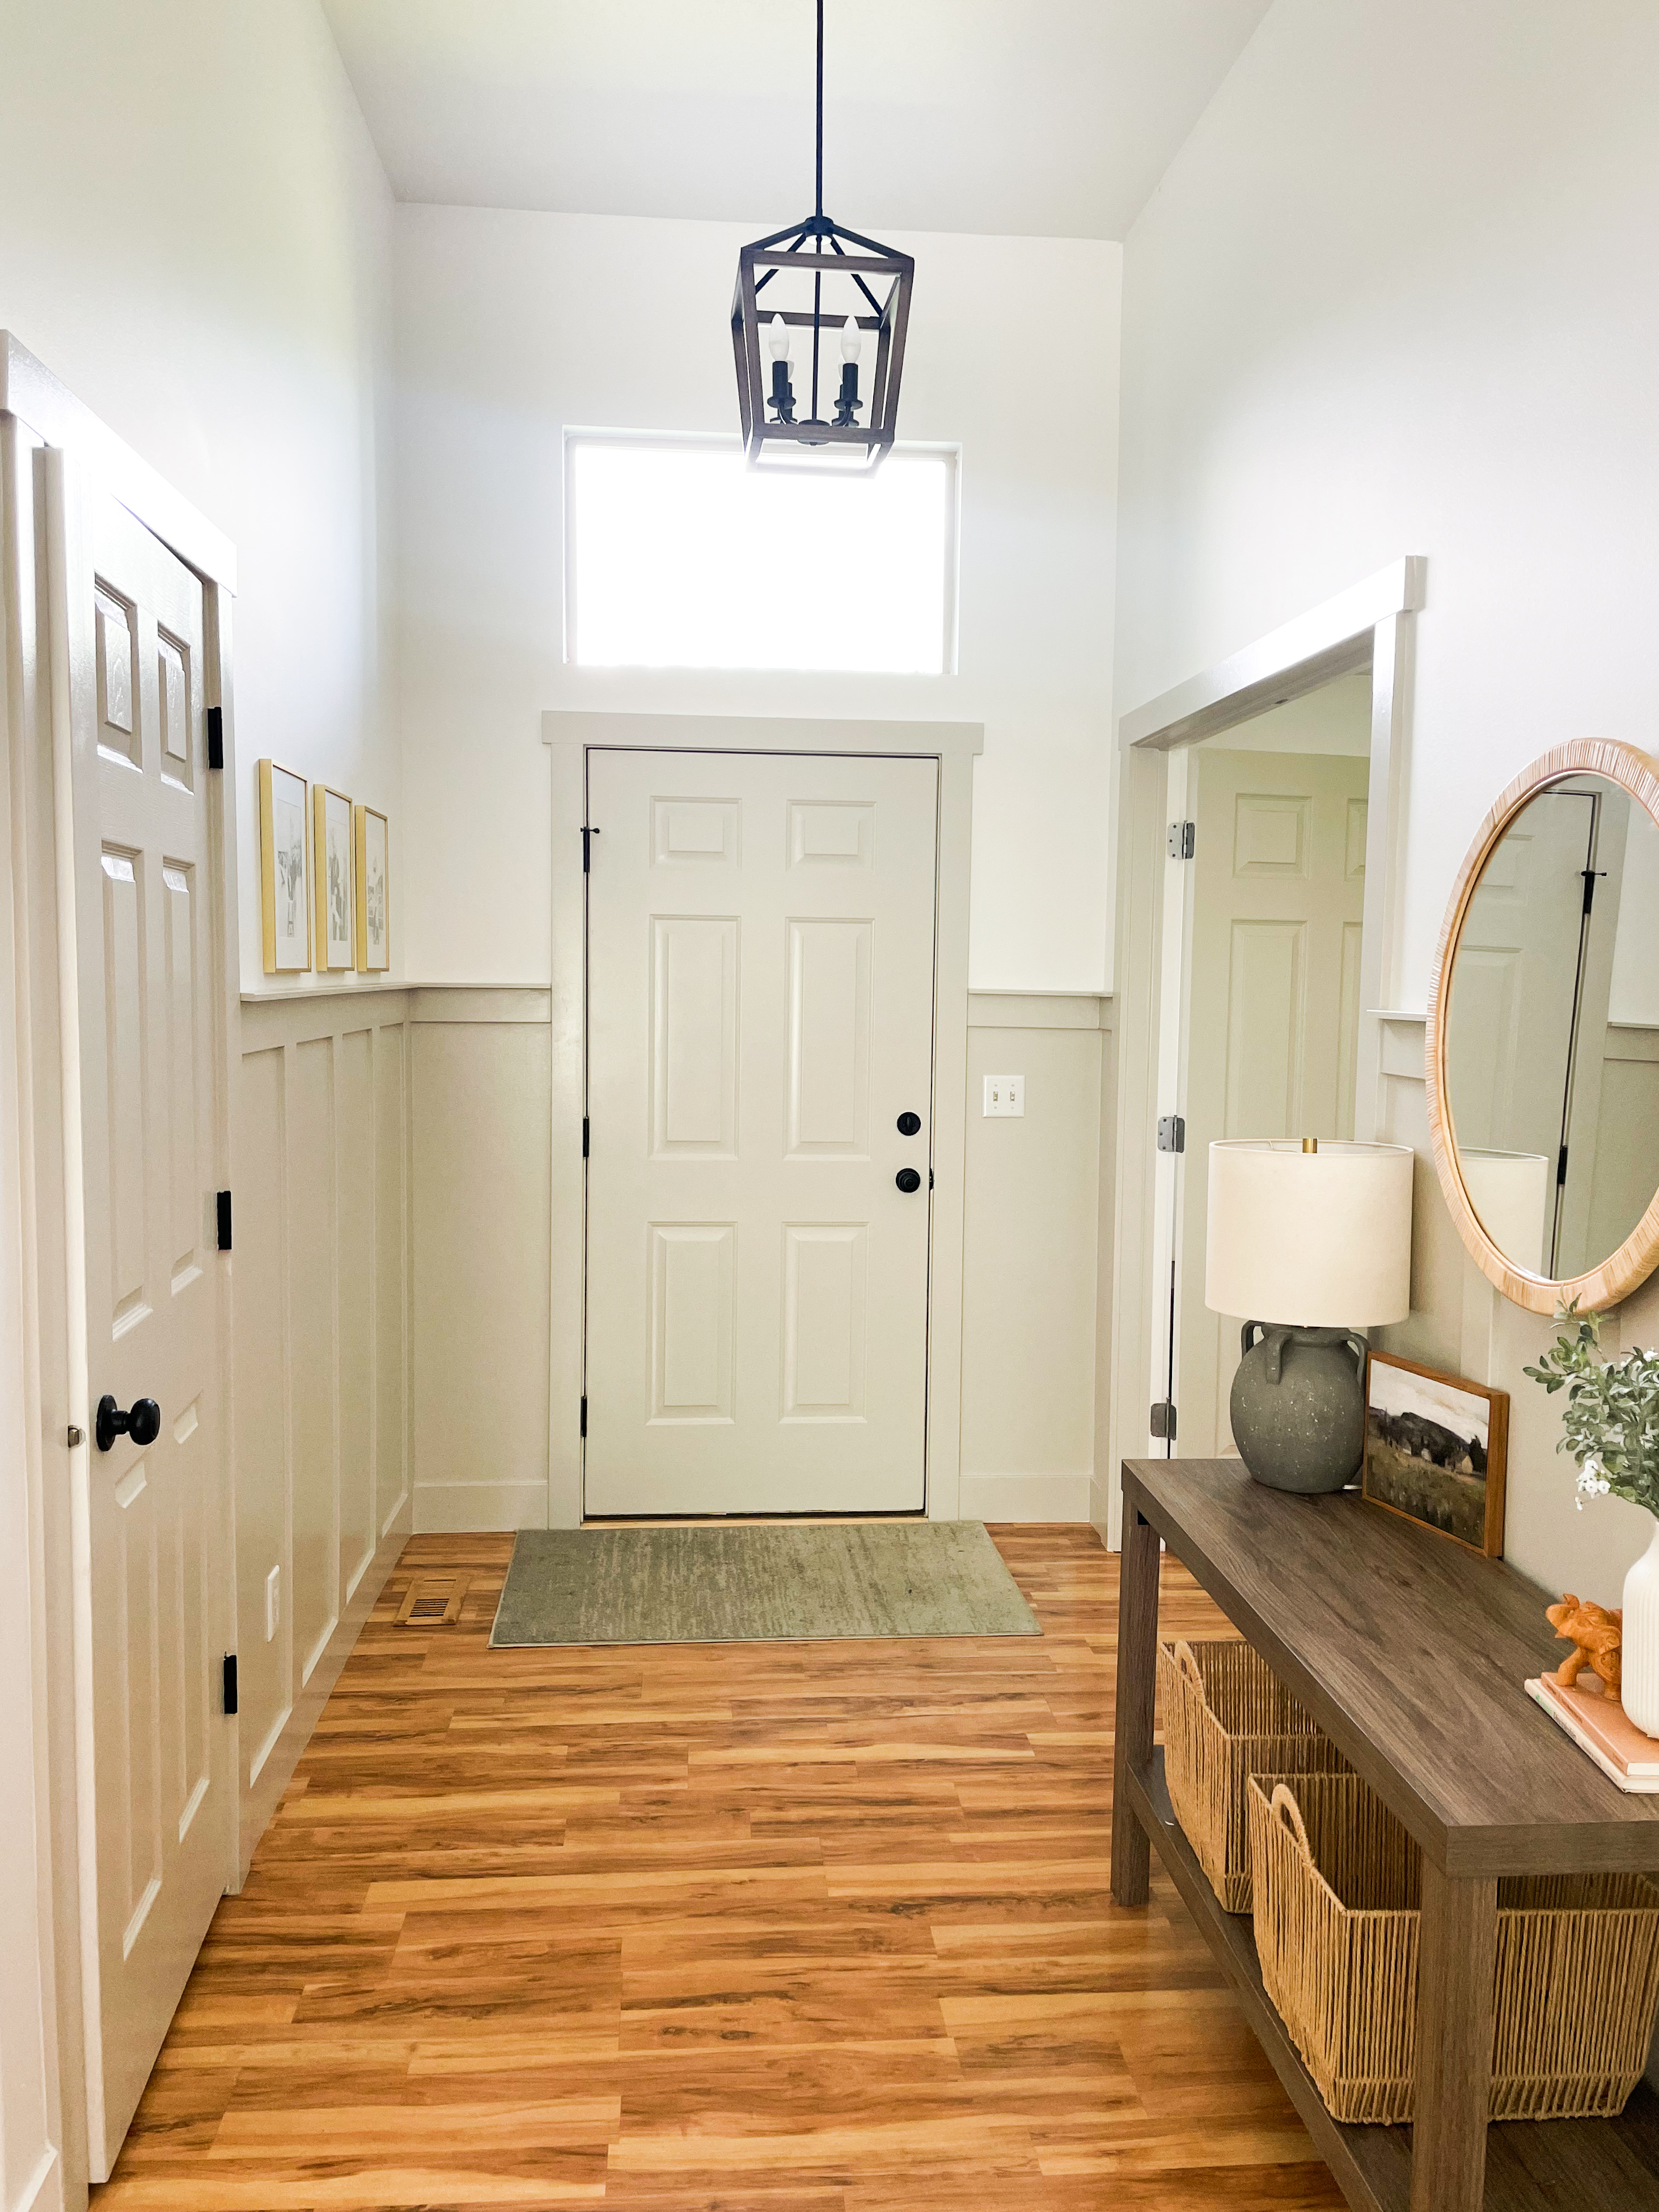
This modern traditional board and batten entry was a fairly simply weekend project that we did in our home that made such a huge impact in this space. If you're looking to replicate something similar in your home, it's a great project to start.


Board and Batten Entry

Board and Batten Entry:

I don't remember how it happened but Easter weekend I got the itch to add board and batten to this entryway, and once the thought was in my brain I couldn't shut it off. 


I felt like I had watched enough Instagram DIY videos that I could take the project on, and was pleasantly surprised when it worked out exactly how I had it in my brain. 


For this project I used these 1x4 MDF boards for the vertical pieces, and the horizontal board that goes across the top. 


For the thin trim board that rests on top of the long horizontal boards, I used these 1x1.5 MDF boards.


The paint that I chose was Tranquil Gray by Behr from Home Depot in a semi-gloss finish. Fun fact is that I saw this online, bought an entire gallon, and ran with it. Didn't sample or anything, and I'm OBSESSED with how it turned out. It is the perfect greay-beige color. 


Board and Batten Entry


Board and Batten Entry

Console Table Styling for Board and Batten Entry:

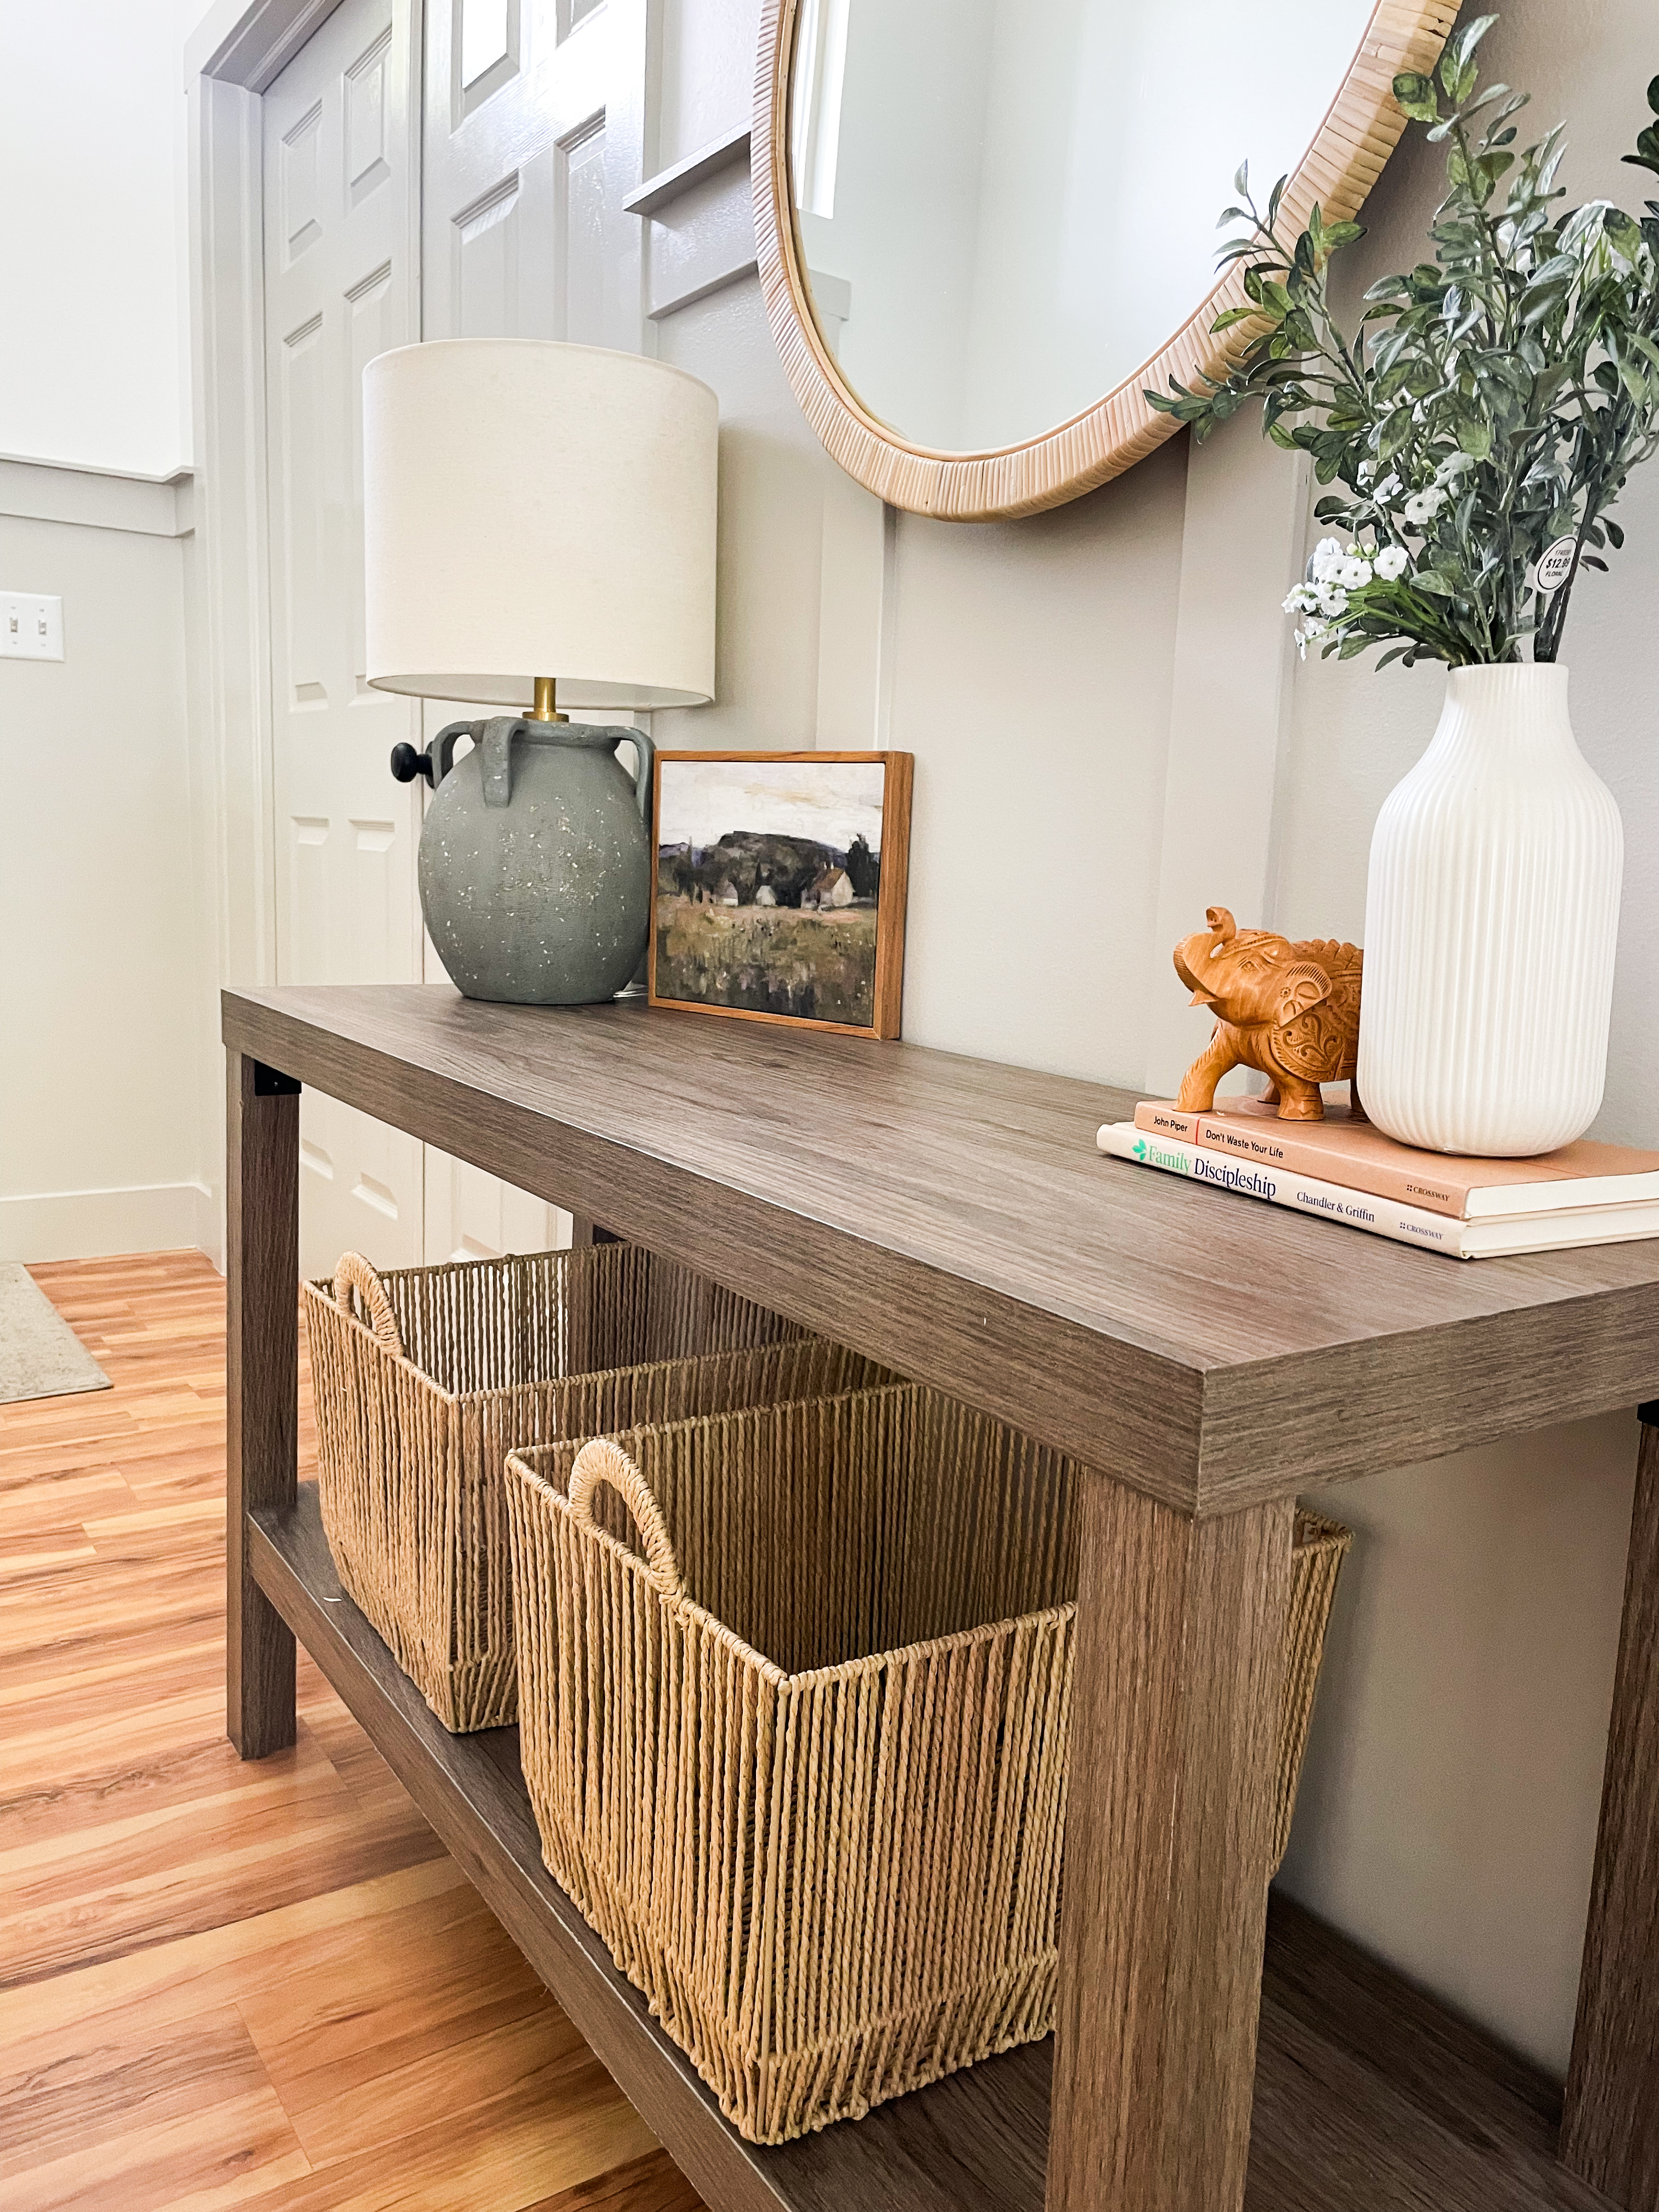
It was really important to me that I was able to reuse the table we already had in this space. I bought this console table from Walmart a couple years ago and it sat in the entry unstyled all this time.

I found this inspiration online and really ran with the design and elements to make it my own.

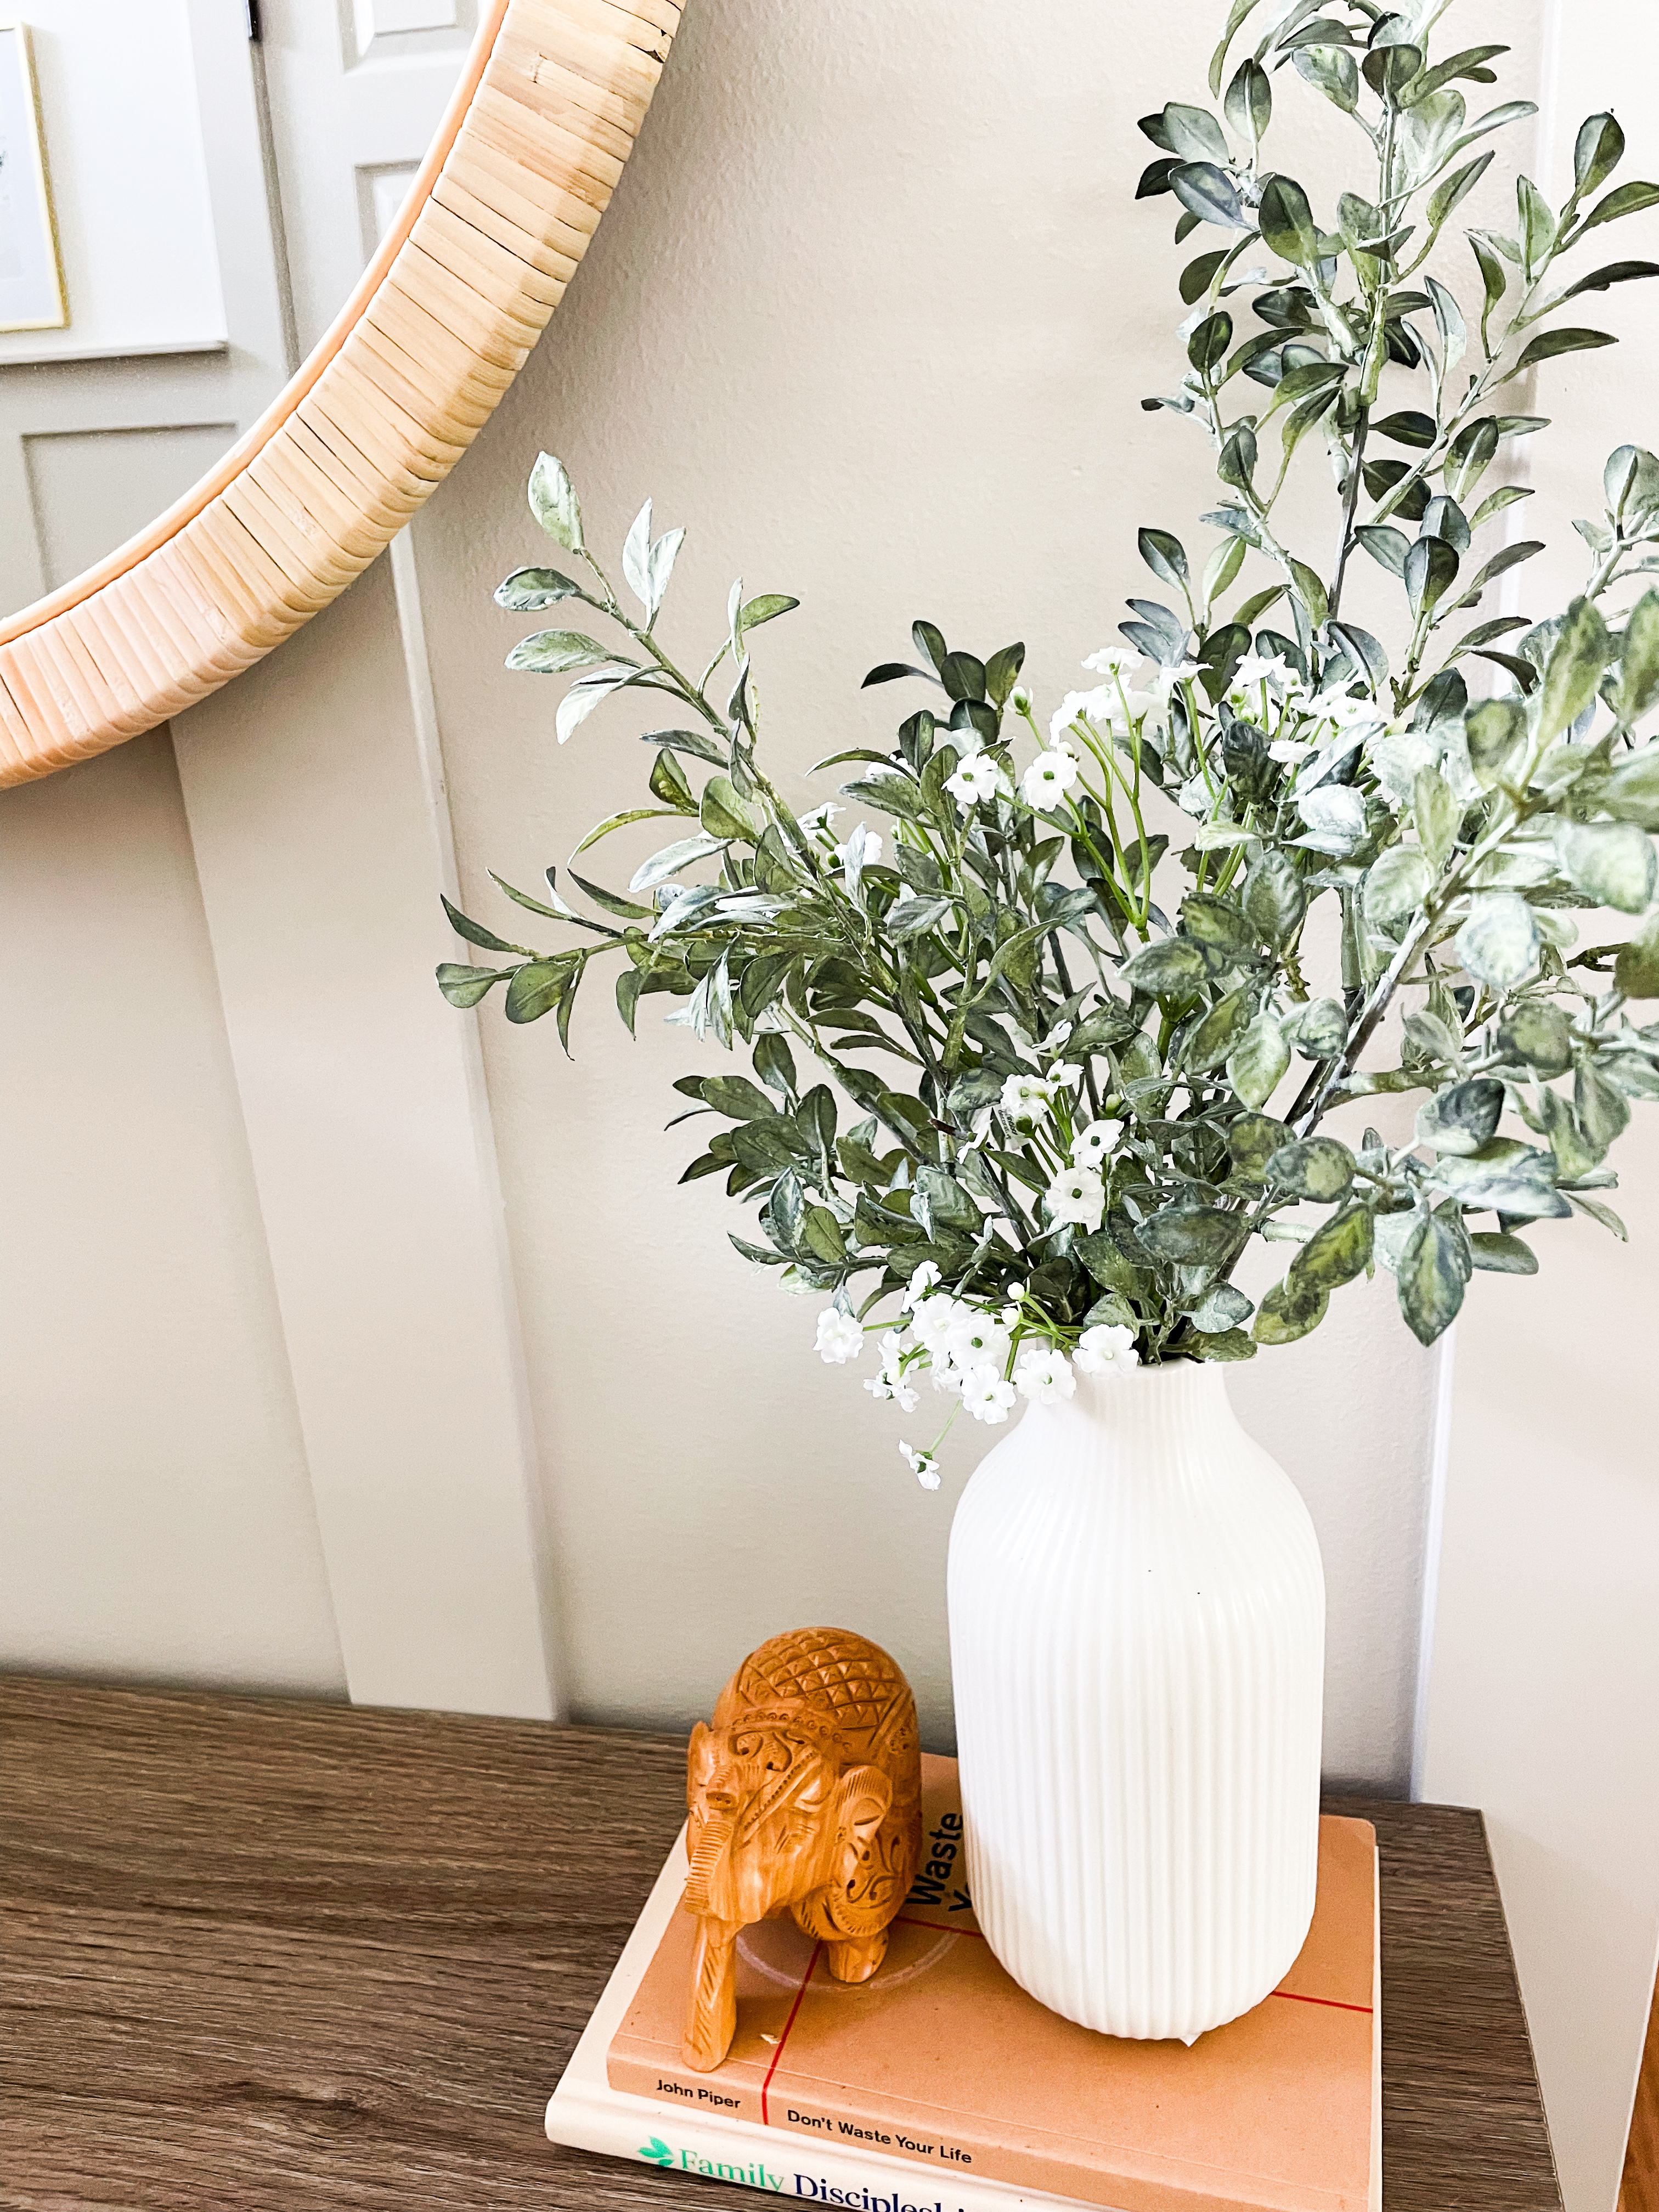
I rally didn't want to spend a lot of money on decor for this table and was shocked that I found most of the items at Walmart for very cheap. I ended up using some books I already had on hand, my elephant from a trip to India, and this watercolor picture I bought on Amazon. 

Board and Batten Photo Wall:

I knew I wanted to hang some pictures of our recent Disney trip in this space but I didn't want the colors from all the photos to be too harsh with the rest of this space. I opted for some black and whites and love how they turned out. 

I bought this pack of frames from Amazon that are 11x14 frames with 8x10 mats. I printed the pictures as 8x10s and then taped them to the white matting on the inside and it worked out perfectly. 

Board and Batten Entry

If you liked this post, Modern Traditional Board and Batten Entry Tour, you might also like:

Chocolate Chip S'mores Cookies

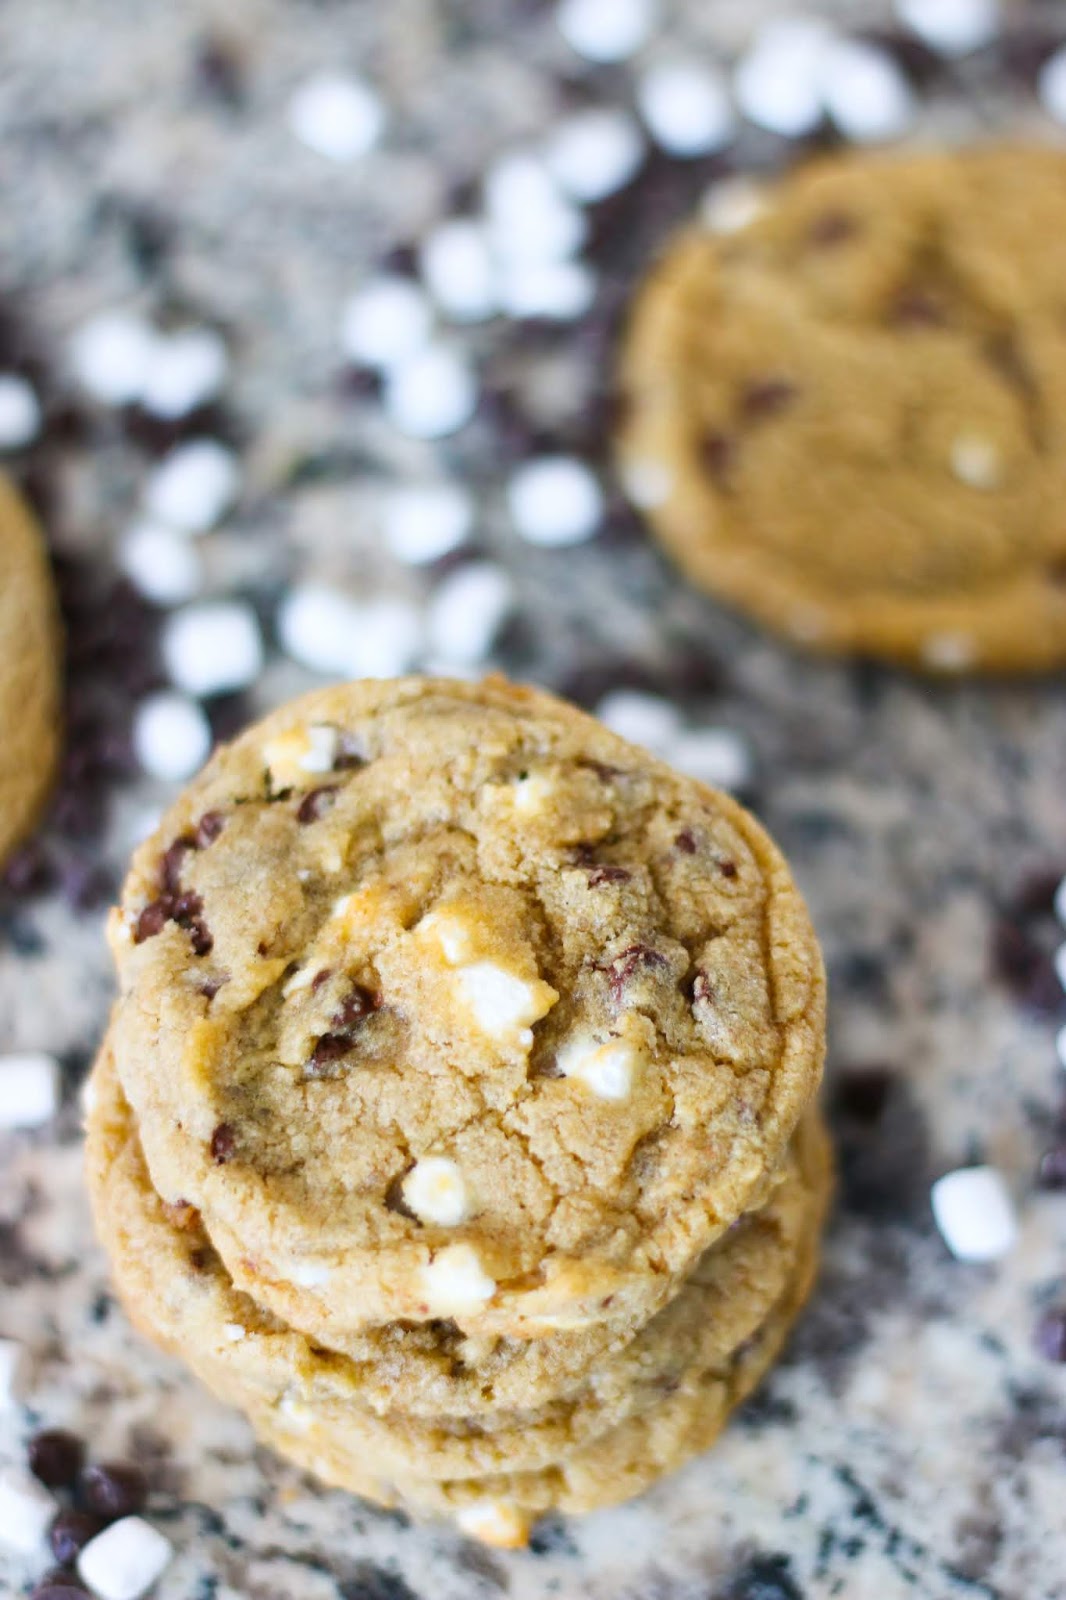
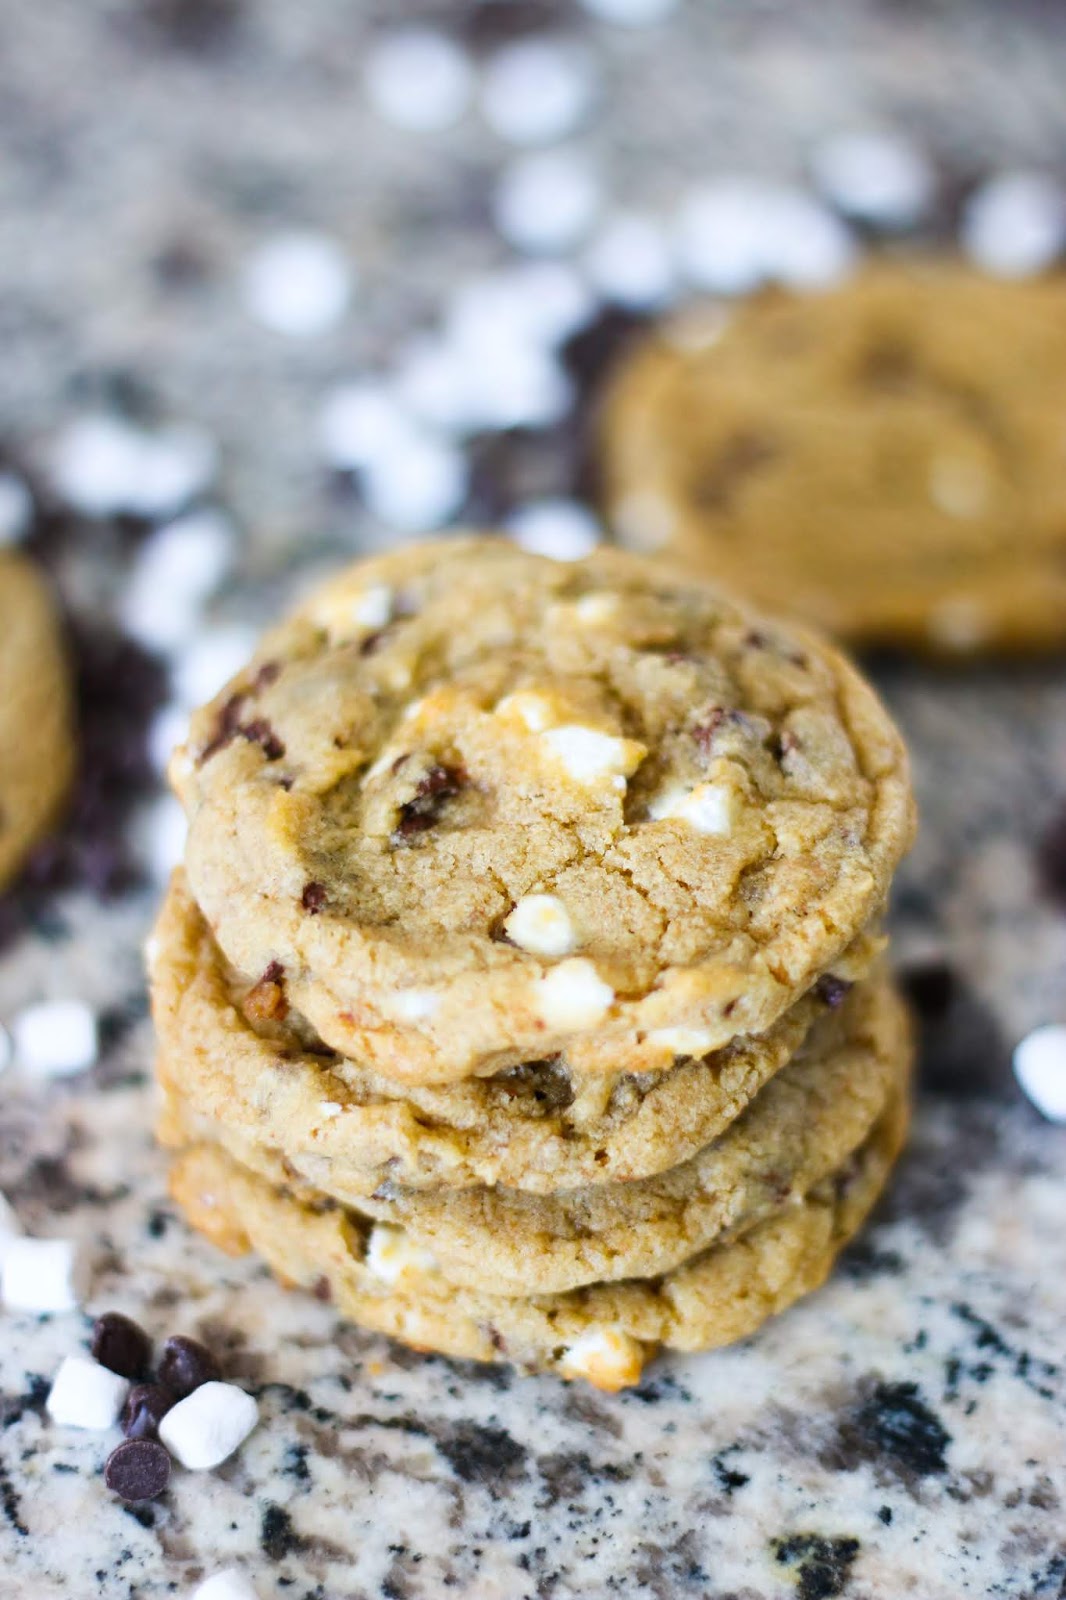
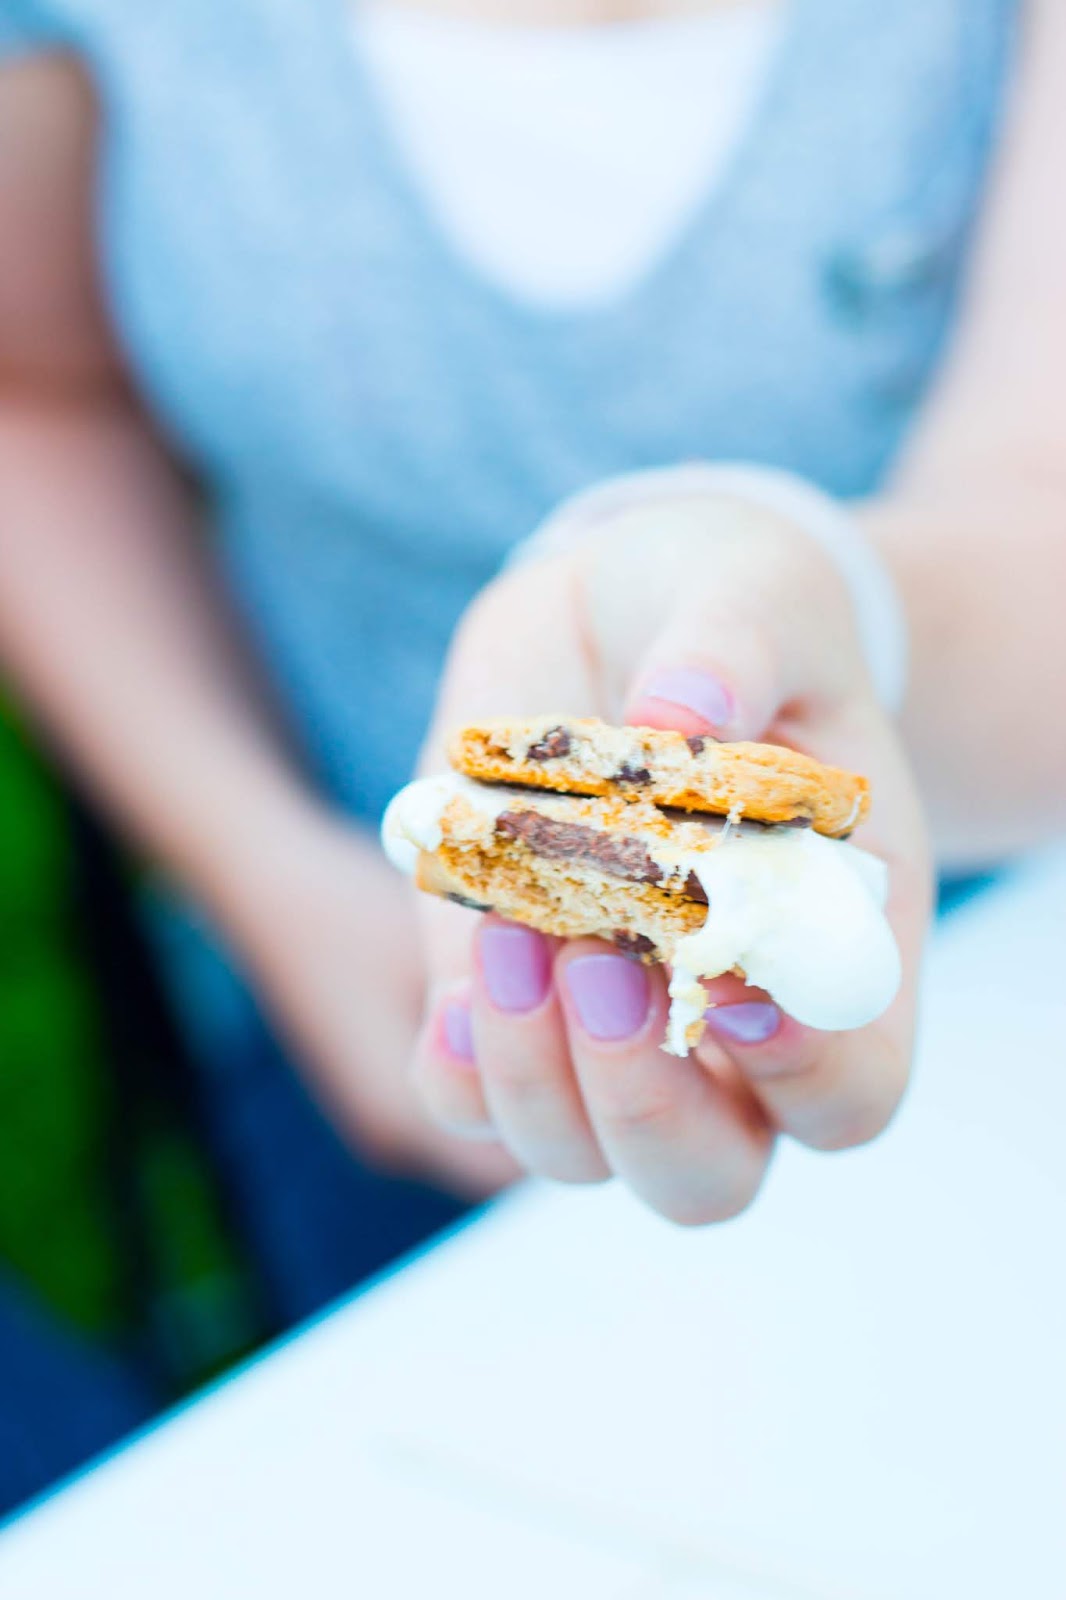
Chocolate chip s'mores cookies are the perfect summer treat to make that combines the delicious flavors of graham cracker, chocolate, and marshmallow, all in one delicious cookie.


Chocolate Chip S'mores Cookies

Chocolate Chip S'mores Cookies:

I made these cookies for the first time several years ago and I was blown away by how similar they are to a traditional chocolate chip cookie, but so much better. Between pulsing graham crackers into a fine powder that you incorporate in the dough, and the tiny marshmallows, they're just the perfect cookie to make this summer.

The Best Marshmallows for S'mores Cookies:

The best marshmallows for s'mores cookies are these tiny Jet Puffed Bits marshmallows. I purchase mine on Amazon, but you might be able to find them in your local grocery store as well. They're similar in texture to the marshmallows from Lucky Charms, but a lot smaller. They also rehydrate a bit when you bake with them giving your cookies the best texture when they're done.

Chocolate Chip S'mores Cookies

Ingredients for Chocolate Chip S'mores Cookies:

  • 1/3 cup white sugar
  • 1/2 cup brown sugar
  • 1/2 cup butter, softened
  • egg
  • 1 tsp vanilla
  • 1 tsp baking soda
  • 1/4 tsp salt
  • 1 cup graham crackers (pulsed into flour texture in a food processor)
  • 1 1/4 cups all purpose flour
  • 1 cup mini chocolate chips
  • 1/2 cup mini marshmallow bits
Chocolate Chip S'mores Cookies

Tips For the Best S'mores Cookies:

Don't overbake the cookies. You want them to be slightly soft in the center still. Mine took 8 minutes, these cookies bake up pretty fast!

Use a food processor to pulse the flour into fine crumbs. It should be the same consistency as all-purpose flour when you're done pulsing them. 

Don't let the cookies sit on the pan too long. The heat from the pan can cause them to overcook and then they'll be crunchy which isn't desired for this recipe. 


If you liked this post,  Chocolate Chip S'mores Cookies, you might also like:


Easy Delicious Lasagna (Only 5 Ingredients!)

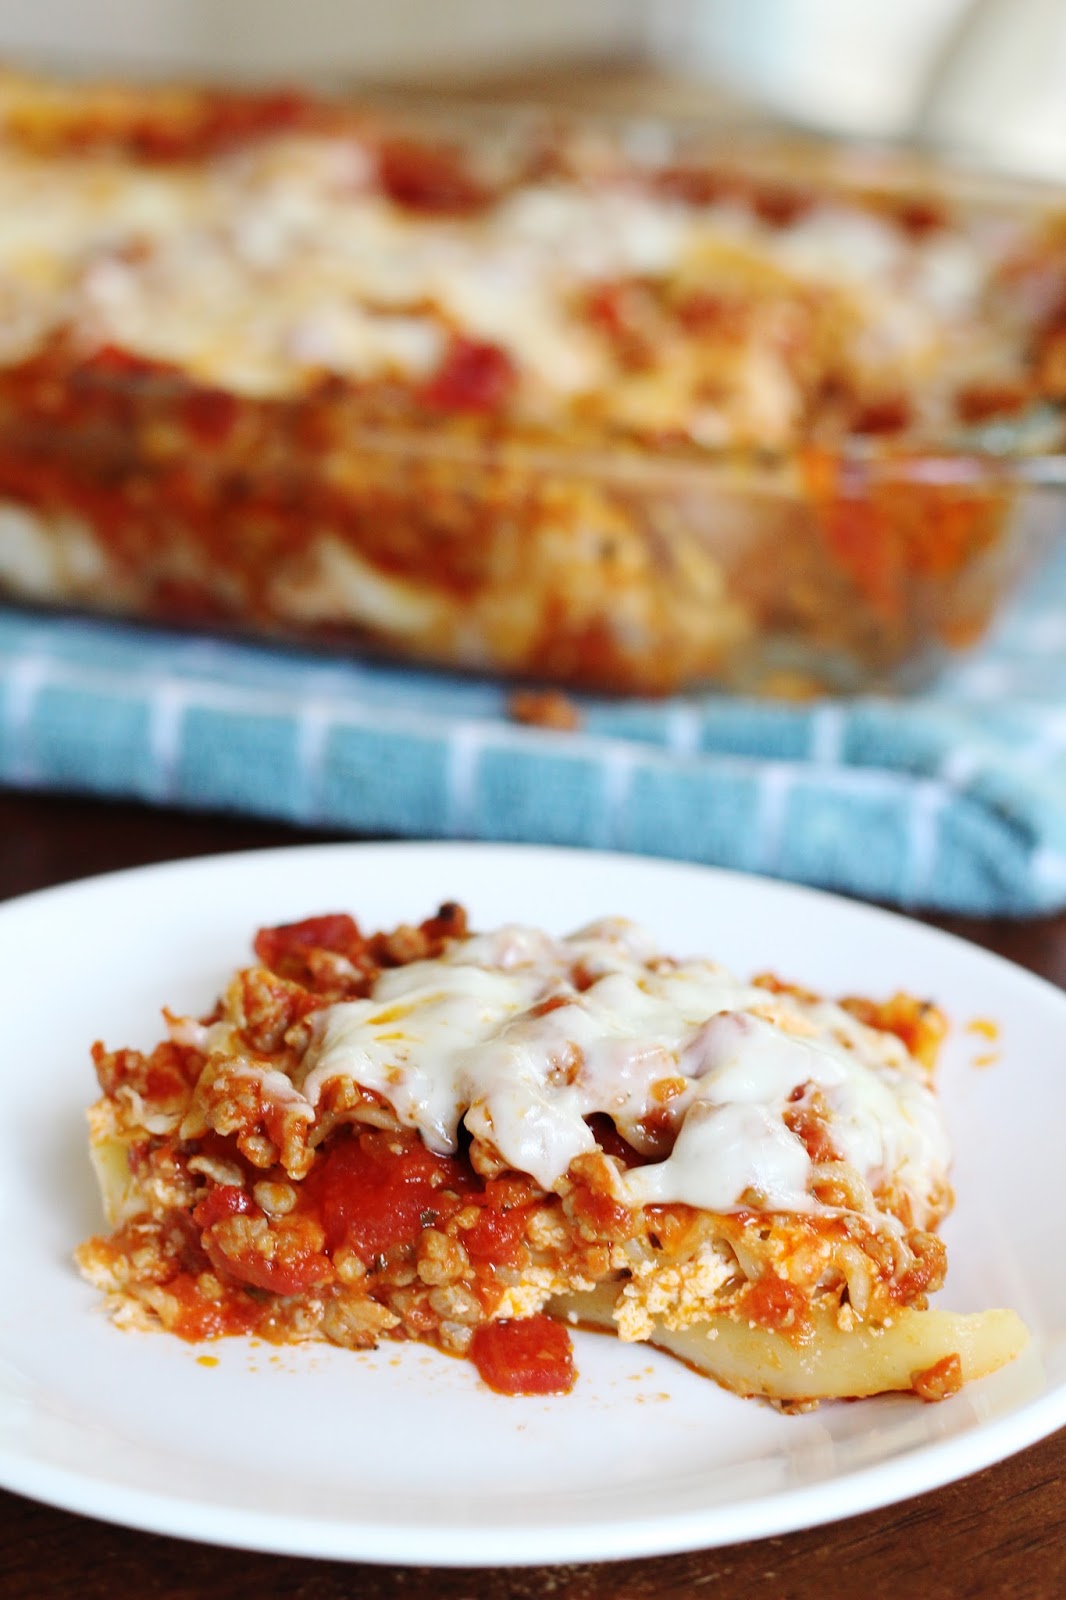
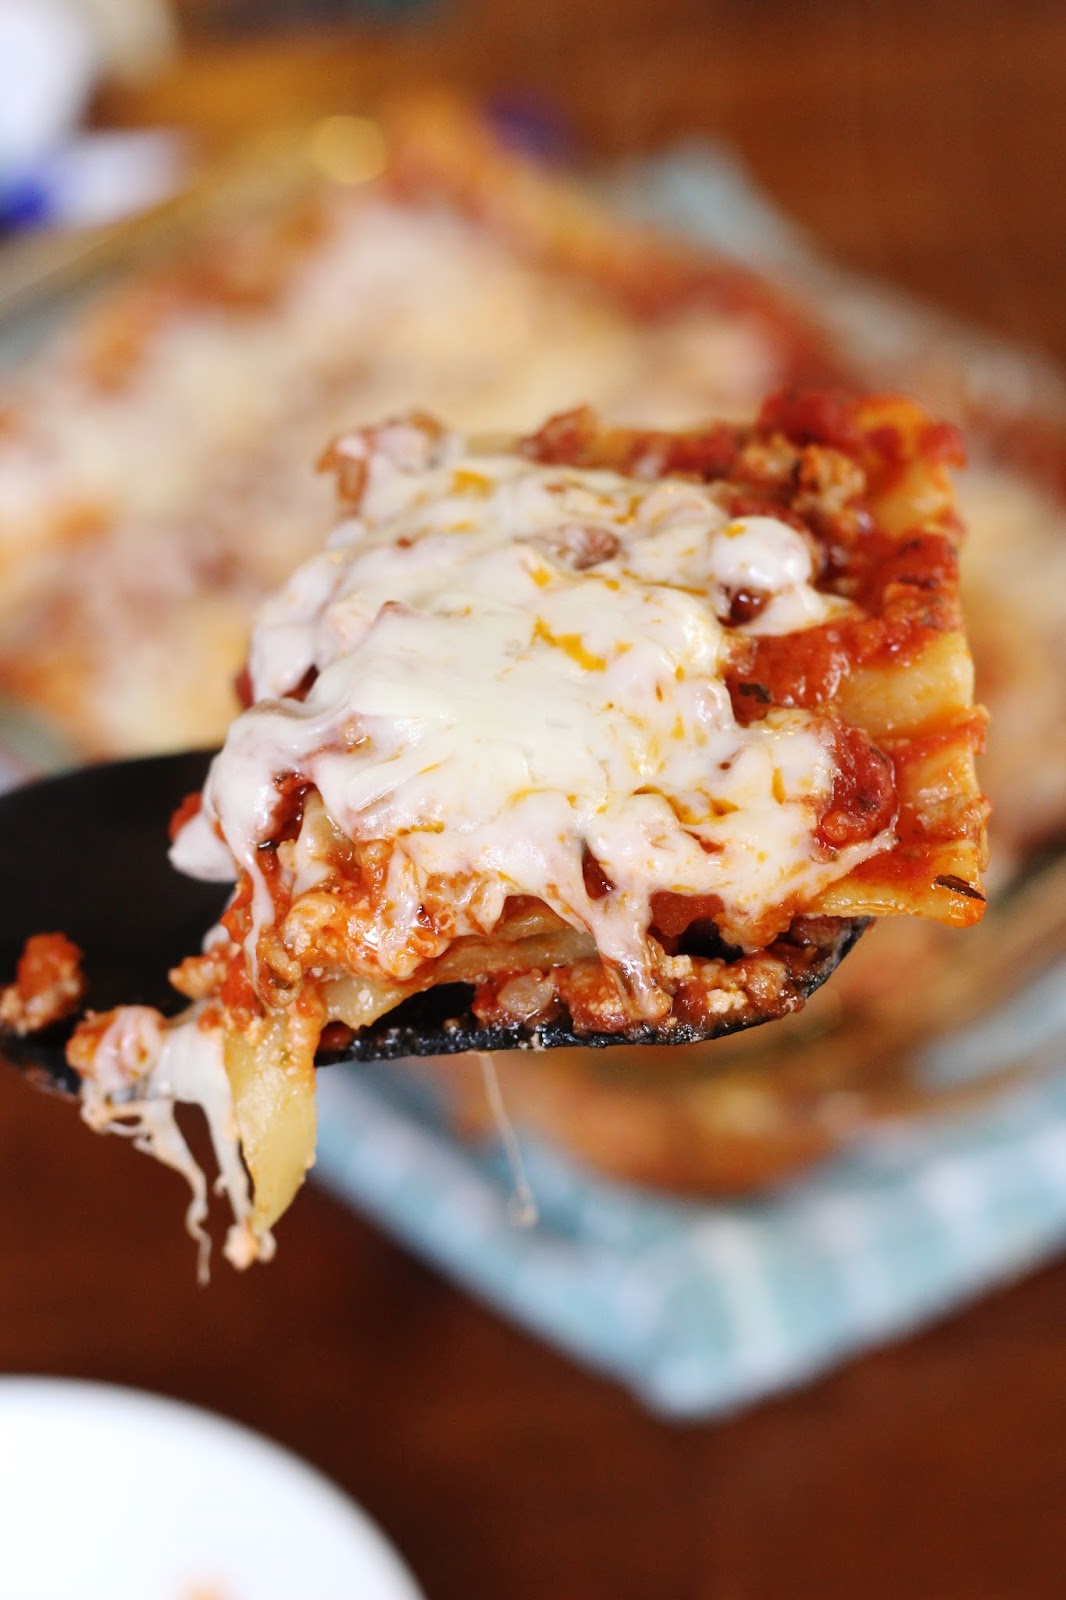
This easy and delicious lasagna recipe comes together with only five ingredients and very minimal prep. It will easily become your family's go-to lasagna recipe for years to come


Easy Delicious Lasagna

Easy Delicious Lasagna:

I remember when Derek and I first got married and I was figuring out cooking, lasagna felt like one of those meals that I needed to figure out how to make. I stumbled across this five-ingredient lasagna recipe at some point down the line, and it's been our go-to ever since. 

No Bake Lasagna Noodles:

My favorite part about this recipe is that you use the oven-ready lasagna noodles which I've been proudly using for over a decade. I love that I don't have to boil the noodles ahead of time, and I can get to work layering everything in the pan. 

This recipe might not be for the lasagna purest, but for someone with no Italian blood to their name, it's completely fine with me. 

Easy Delicious Lasagna

Five Ingredients for Perfect Lasagna:

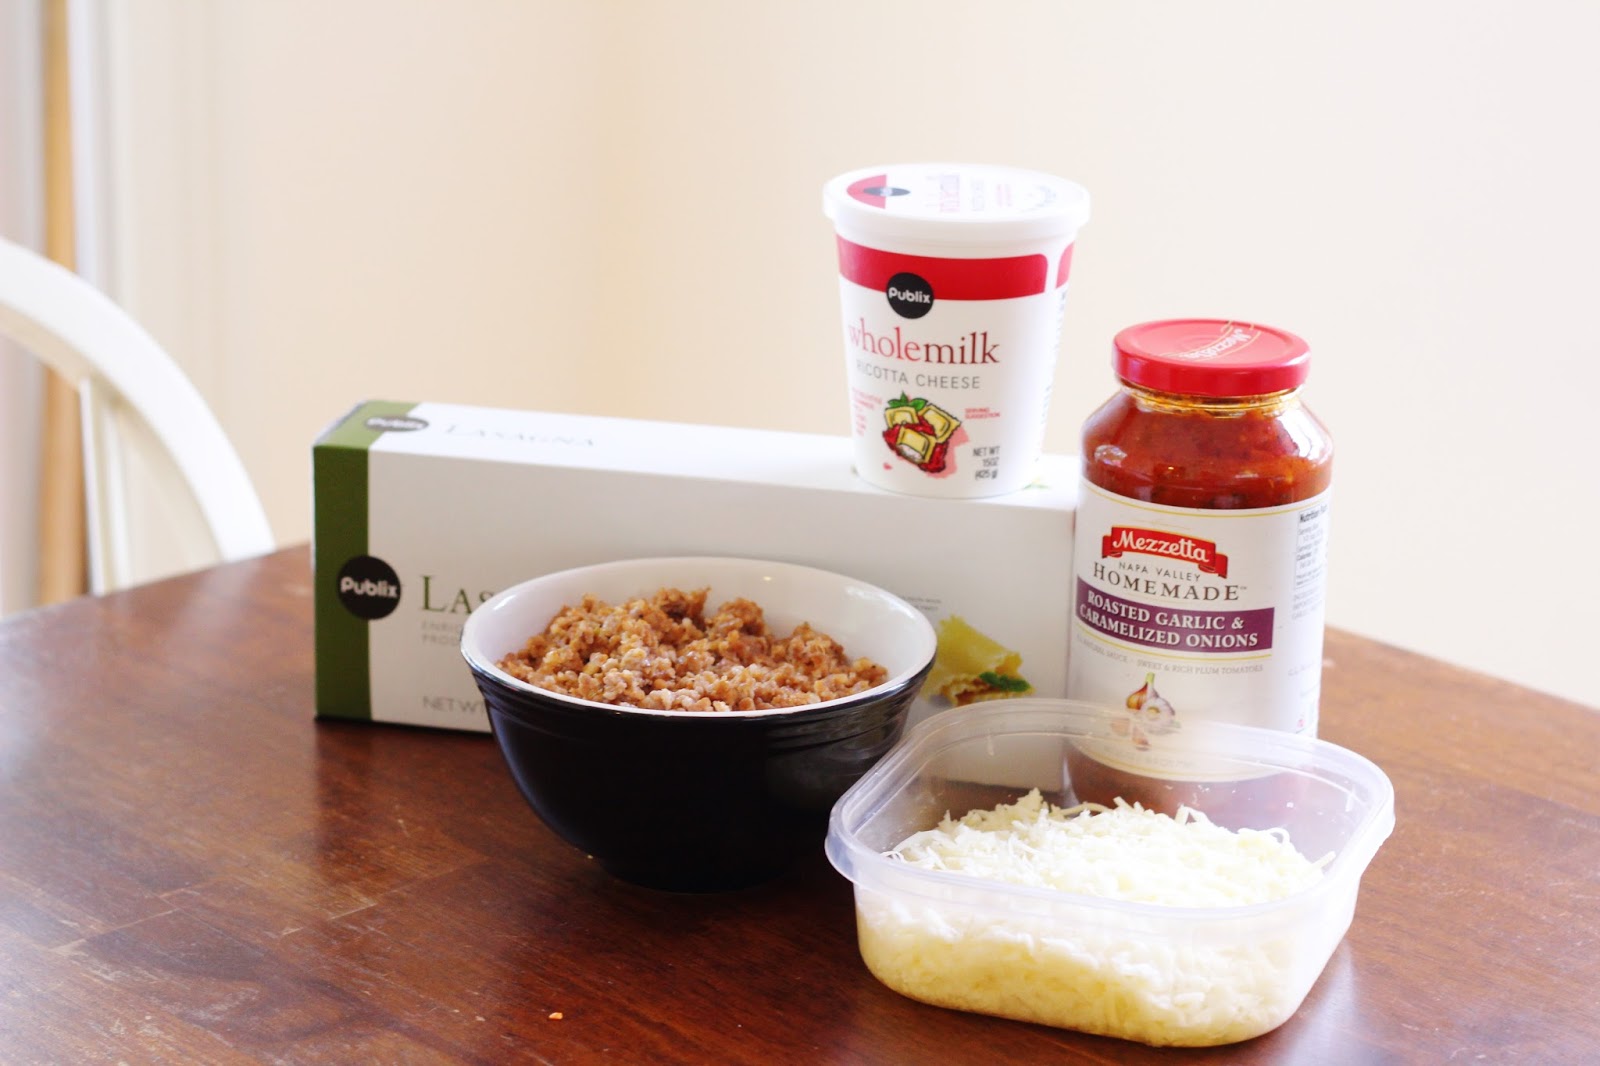
Oven Ready Lasagna Noodles: Perfect for eliminating boiling the noodles ahead of time and reducing your overall hands-on time in the kitchen. 

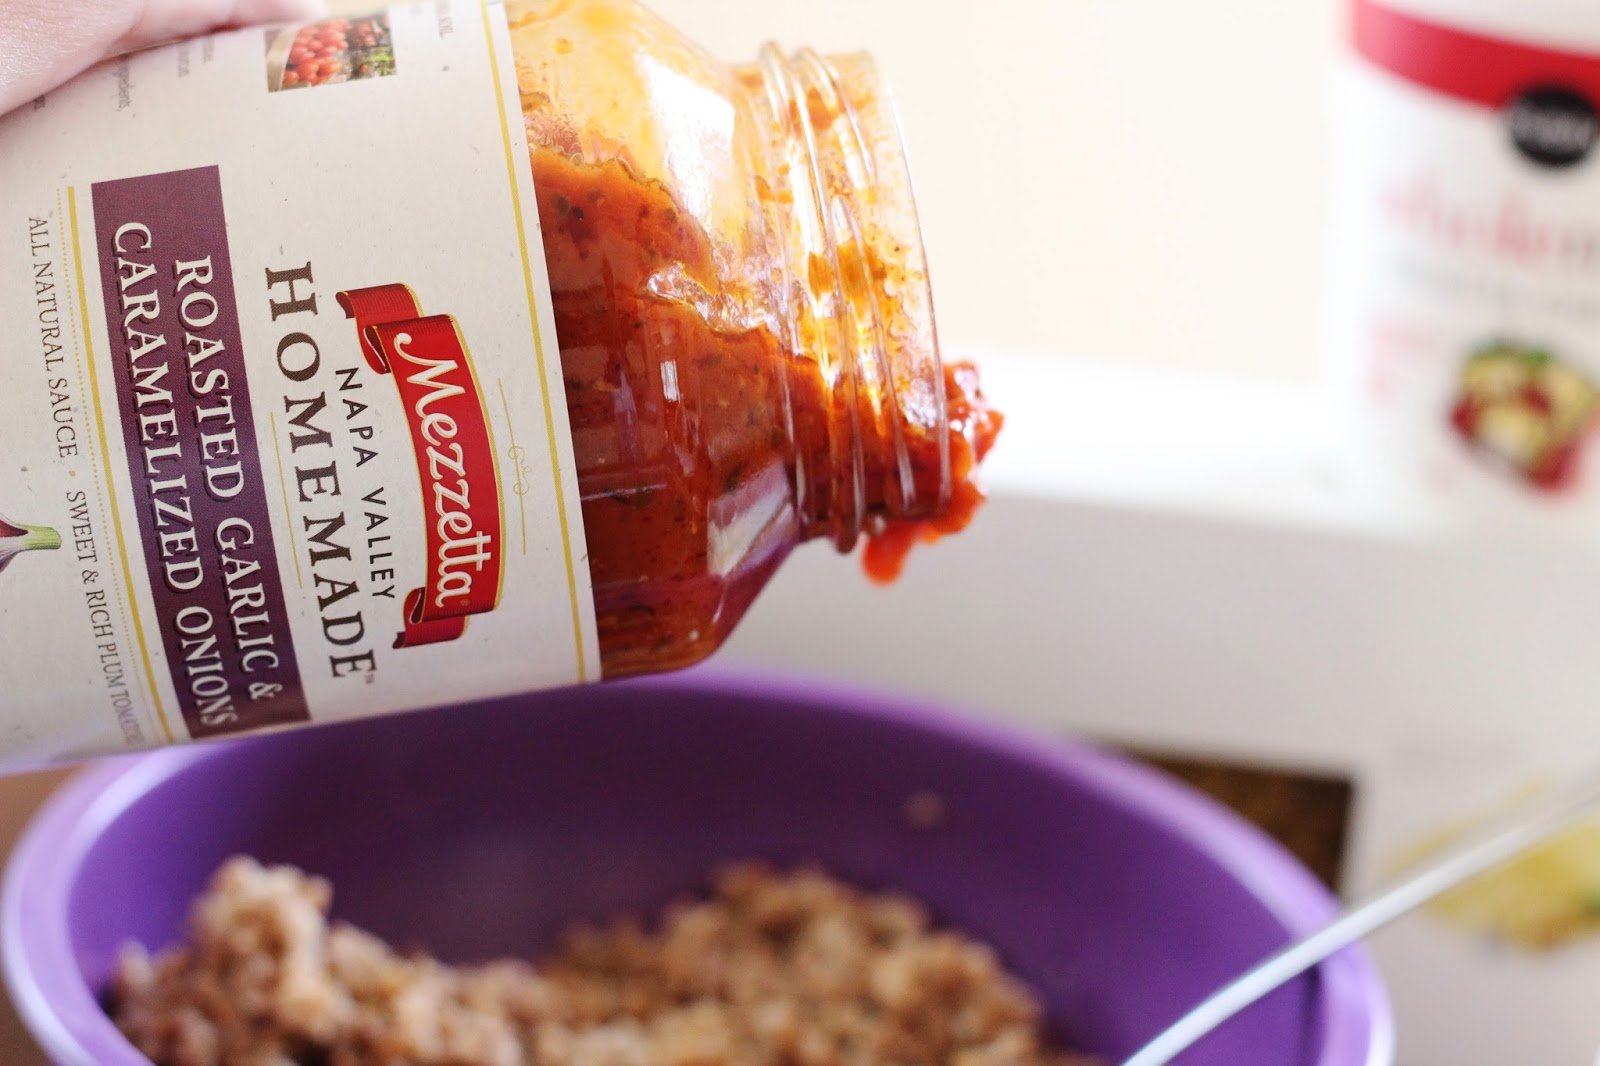
Jarred Pasta Sauce: Pick whichever one is your family's favorite, you just need 24 ounces. We recently used the Spicy Truff sauce and it made for a really good spicy lasagna that I LOVED.

Mozzarella Cheese: The classic cheese for all Italian dishes. You'll need two cups.

Ricotta Cheese: The perfect cream cheese to layer into your lasagna. If you're looking for a higher protein option you could use cottage cheese. 

Italian Sausage: Brown a pound of ground Italian sausage and mix it with your jarred pasta sauce to add the best texture and flavor to this dish. 


Easy Delicious Lasagna

Layering the Lasagna:

Step 1: Pour 1 cup of the meat sauce mixture into the bottom of an 11x7 casserole dish

Step 2: Top with 3 uncooked lasagna noodles.

Step 3: Spread 1 cup ricotta cheese across the noodles.

Step 4: Sprinkle 1 cup mozzarella cheese on top of ricotta.

Step 5: Spread 1 cup of meat sauce across the cheese layer. 

Step 6: Top with three more lasagna noodles.

Step 7: Spread the last cup of meat sauce over the lasagna noodles.

Step 8: Cover with foil and bake for 50 minutes.

Step 9: Sprinkle 1 cup of mozzarella over the top, and bake for 5 more minutes.

Step 10: Rest for 10 minutes out of the oven before slicing and serving.


Easy Delicious Lasagna


Freezing and Reheating Lasagna:

You can prep this lasagna and store it in a freezer-safe baking dish for up to three months. When you go to bake it in the oven just add 20 more minutes to the baking time. This will increase the cooking time from 50 minutes to 70 minutes.


If you liked this post, Easy Delicious Lasagna (Only 5 Ingredients!), you might also like:

Our Summer Morning Routine with Kids

Our summer morning routine with kids has looked the same for the last five or so years. This has been what our days look like for a long time, and it's a routine that the kids are familiar with. If you're looking to figure out what your days will look like this summer, hopefully, you can draw inspiration from what we do in our home. 


Summer Morning Routine with Kids

Our Summer Morning Routine with Kids:

This has been what our summer mornings have looked like since the kids were very young and it's something that has worked well for us in our home. Because I have always worked to some capacity, I focus on getting a majority of my work done in the morning and try to be a little more structured with the kid's time so that we can all do something fun together in the afternoon. 

Waking Up in Summer:

This might be unpopular, but I don't worry about getting my kids up at a certain time during the summer. In fact, for me the longer they're asleep, that's more uninterrupted work time that I get. The kids will usually wake up on their own anytime between 8 am and 10 am, and I'm more than happy to honor their sleep schedules this time of year. 

Summer Morning Routine with Kids

Getting Dressed During Summer:

Once the kids are awake they know they need to get dressed and ready for the day. My kids will live in their pajamas for the rest of their lives if I let them, so this is our one push toward civility during the summer. Usually, they do this right when they wake up before heading out of their rooms for breakfast.

Breakfast Routine for Summer:

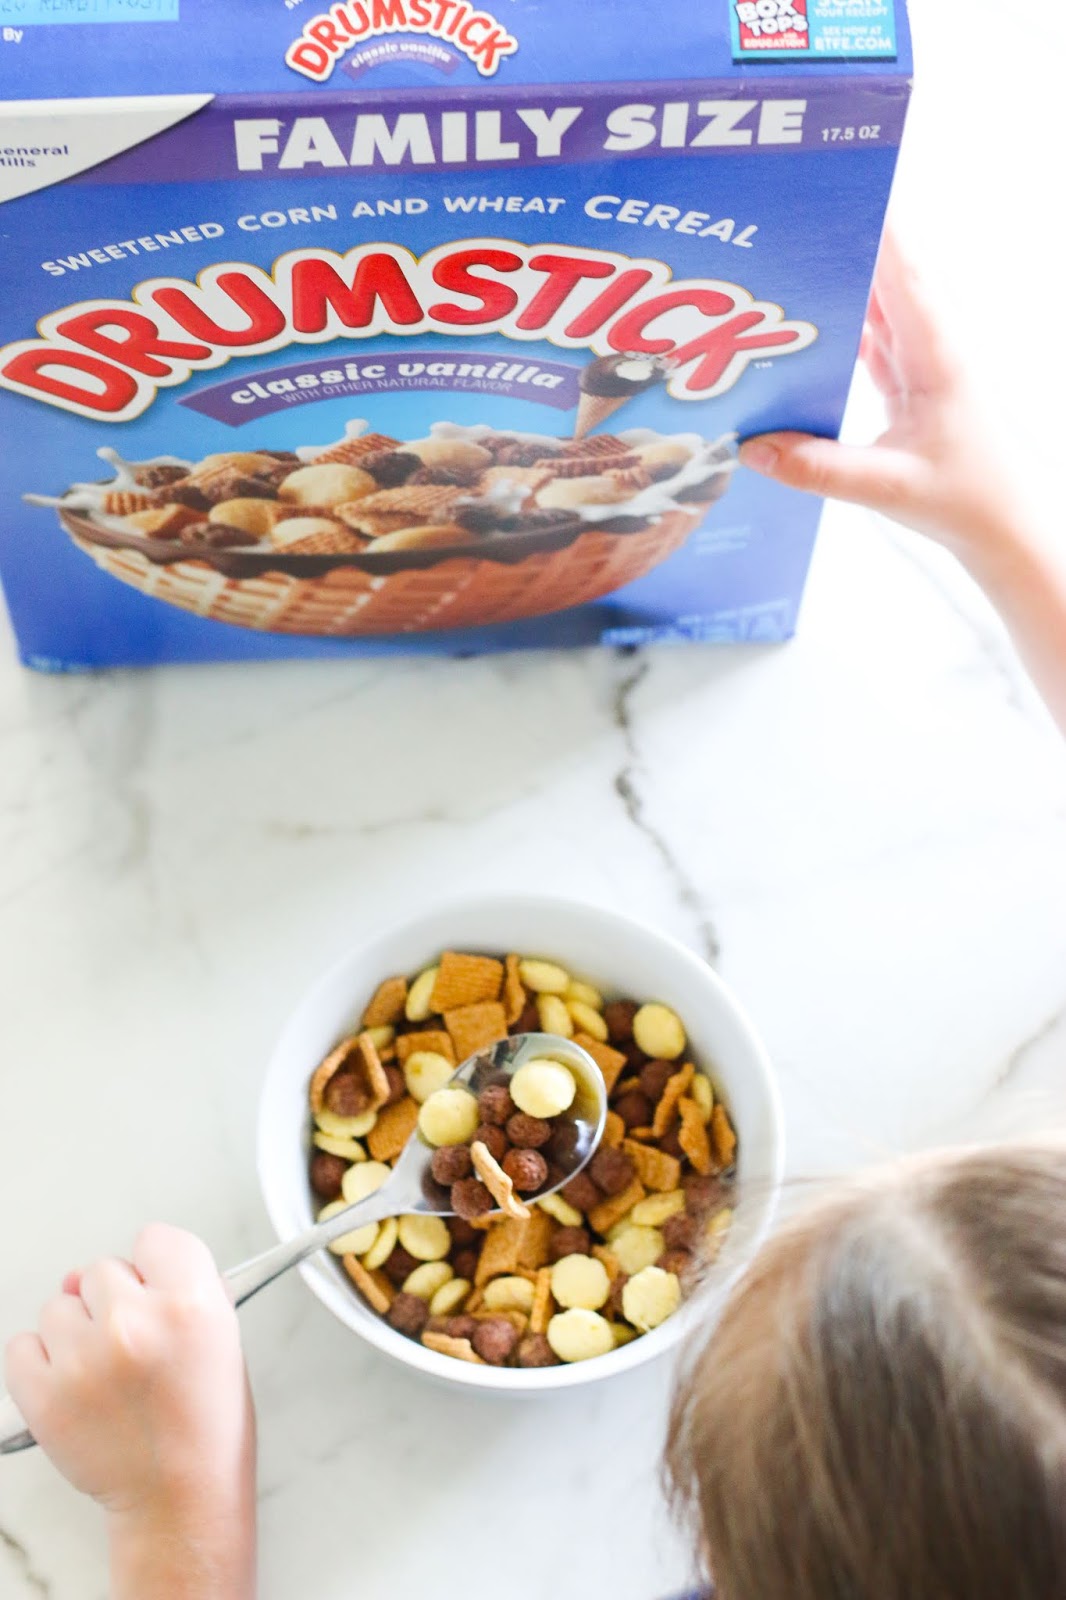
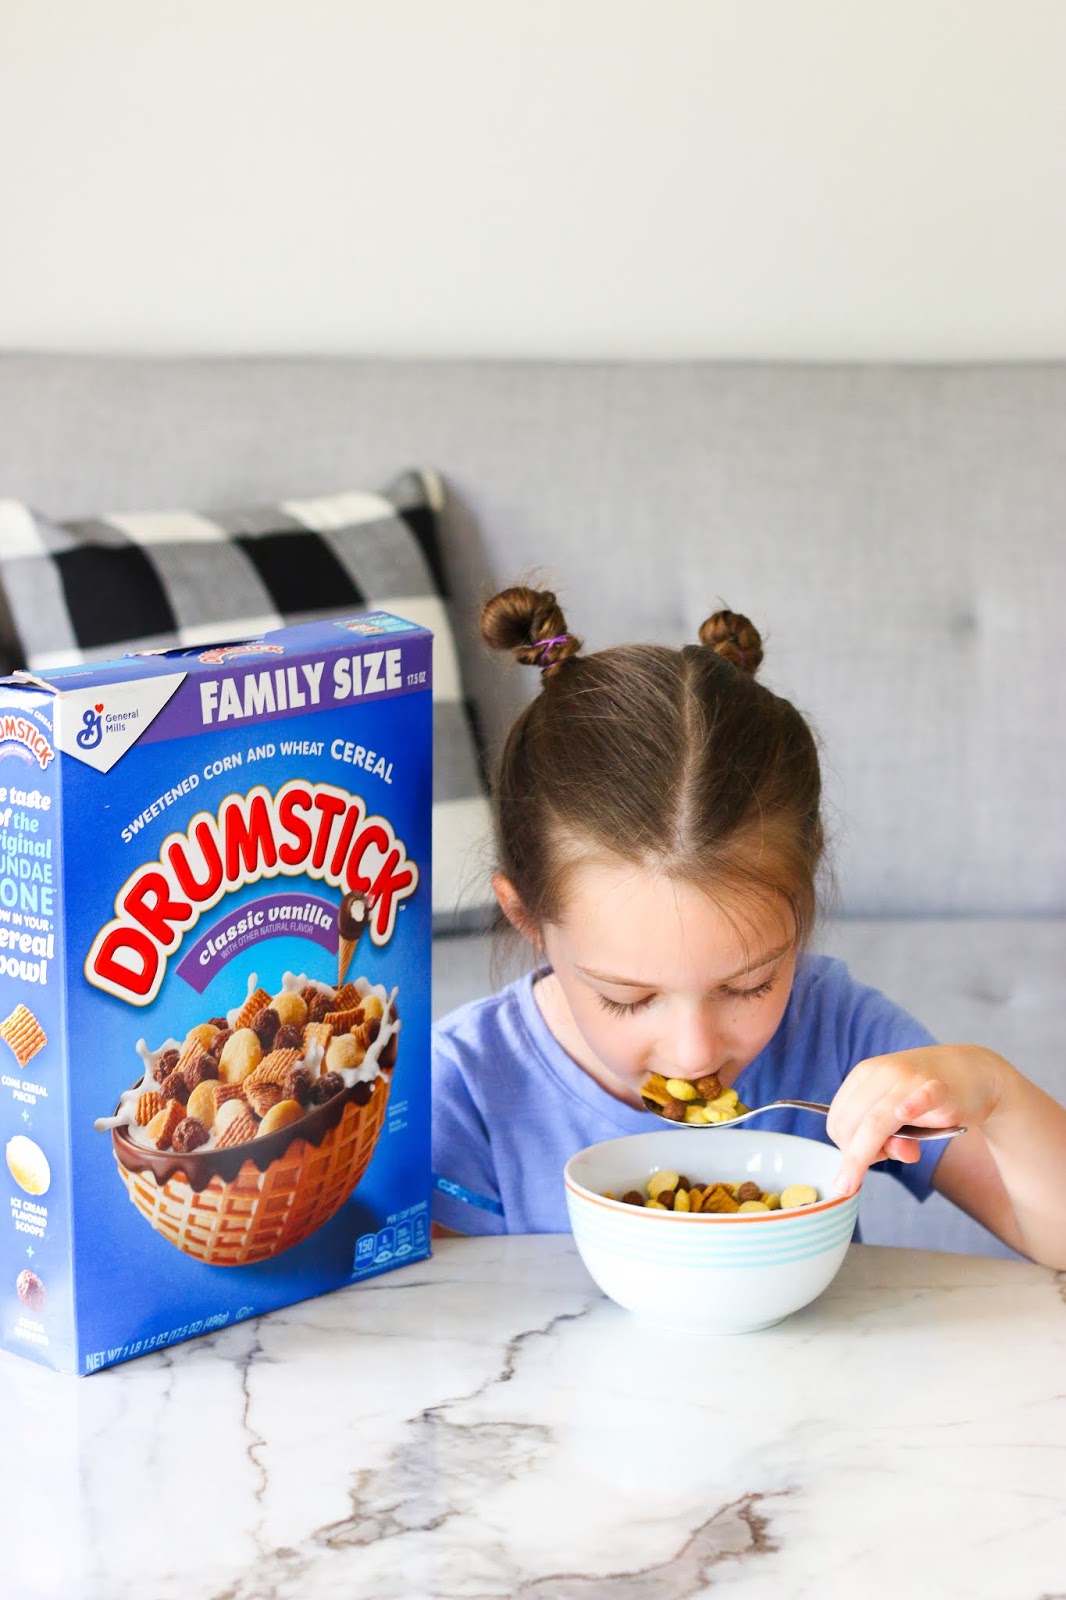
We are fairly lazy parents when it comes to breakfast. Our kids love cereal and it's not my hill to die on. We let the kids pick their cereal of choice in the morning and then they eat and it usually takes about 10-20 minutes. At this point in the day, we usually let Kinsley have some iPad time while she eats.


Get Summer Learning Done:

We have always done some sort of summer learning with our kids. For Kyle, we usually get him some sort of massive workbook that covers a variety of topics that he learned throughout the year. Kinsley qualifies for extended school year which means we get packets from school that she works on at home. 


Kyle will also be continuing with Savvy Learning. He used them for math as part of his homeschool stuff this school year and will continue with math tutoring through the summer. We will be keeping his 9:30 am time slot that he has had for months.


summer morning routine with kids

Quiet Time in Summer:

When school work is done for the day the kids can do quiet time in their rooms until lunch. This usually looks like playing with toys, reading books, or the kids playing together. I don't care what they do during this time (as long as they're not on screens). Often the kids end up in the basement playing with each other for an hour or two and they get a lot of wiggles out this way. 

Eat Lunch + End of Day:

Usually, by 12-1 pm, I have finished my work for the day and the kids are ready for lunch. I usually clean up my desk and get things put away, and then head into the kitchen and make everyone lunch. At this point in the day, the kids and I will usually go on an outing of some sort for a little bit and then we'll come home and hang out until dinner. Screen time usually happens to some extent in the afternoon, usually around 4-5 pm, and then they're turned off once I start making dinner. 

If you liked this post, Our Summer Morning Routine with Kids, you might also like:

Cheap Small Pantry Organization Ideas

These cheap small pantry organization ideas are a great way to store your food in a pantry that is limited in space, you're working with a limited budget, and you need your pantry to be a functional food storage room for your family.


Cheap Small Pantry Organization Ideas

Cheap Small Pantry Organization Ideas:

We have never lived in a home with a large pantry. As I reflect on the 11 homes we've lived in over the last 13 years, we have never had more than a coat closet with shelves, and sometimes we didn't even have that. 

Over the years I have learned how to be creative and utilize the spaces we have well. I've purchased organization bins from Dollar Tree, and sometimes Target and I've created systems that have made food storage easy on our family so that food doesn't get wasted, people know where things are, and we're able to make the best use of what we have. 


The Best Affordable Containers for Pantry Organization:

We have used these same containers in our pantry for the last 5 years and they have been a favorite ever since. There is a look-alike version you can get at the Dollar Store to save some money, but the white ones are rarely in stock, and they're tapered at the bottom which makes them slightly less useful for food storage.

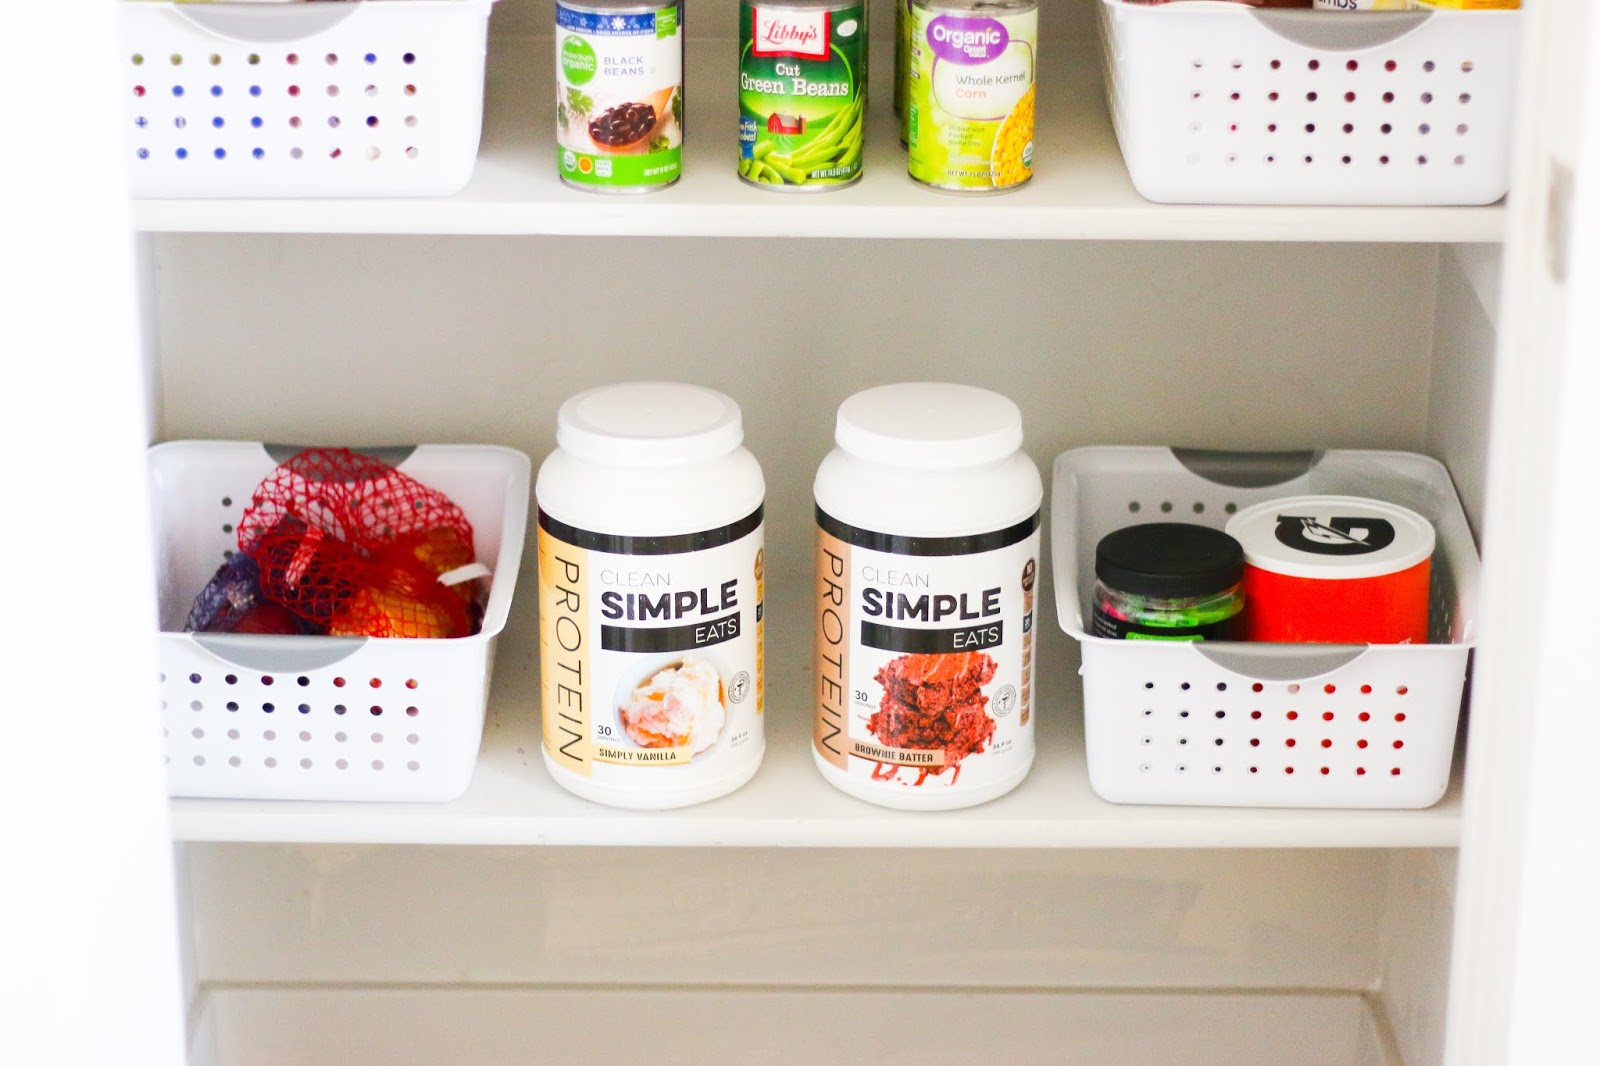
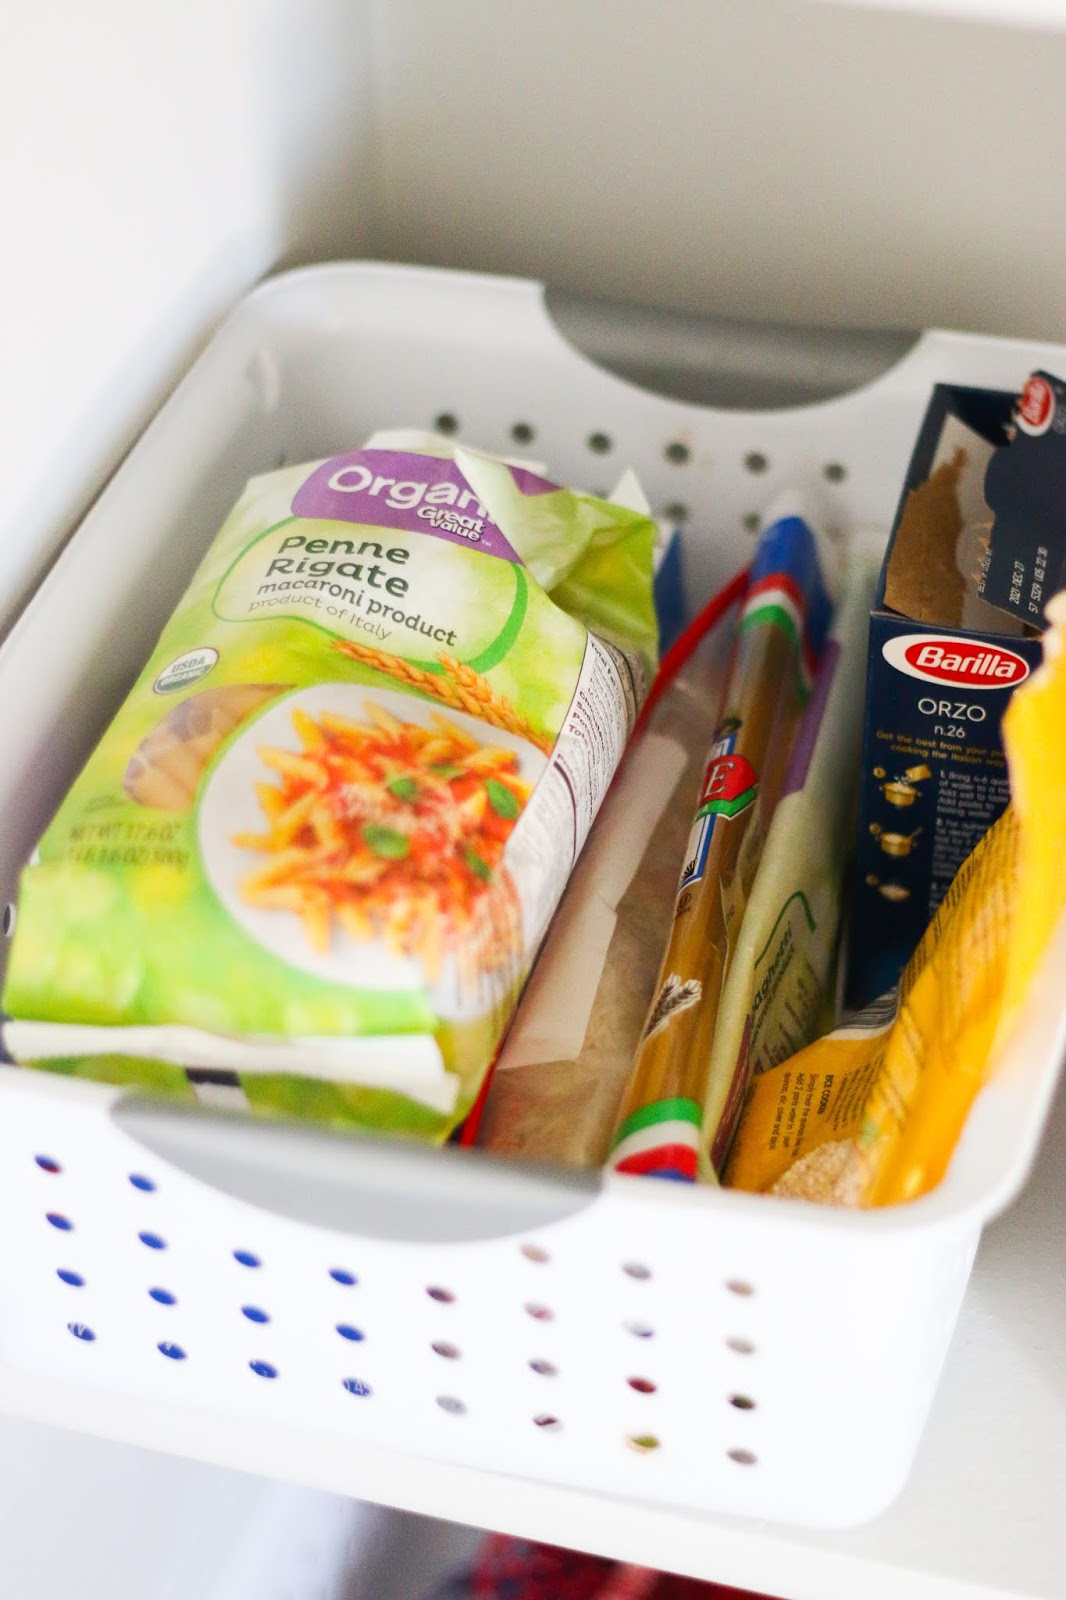
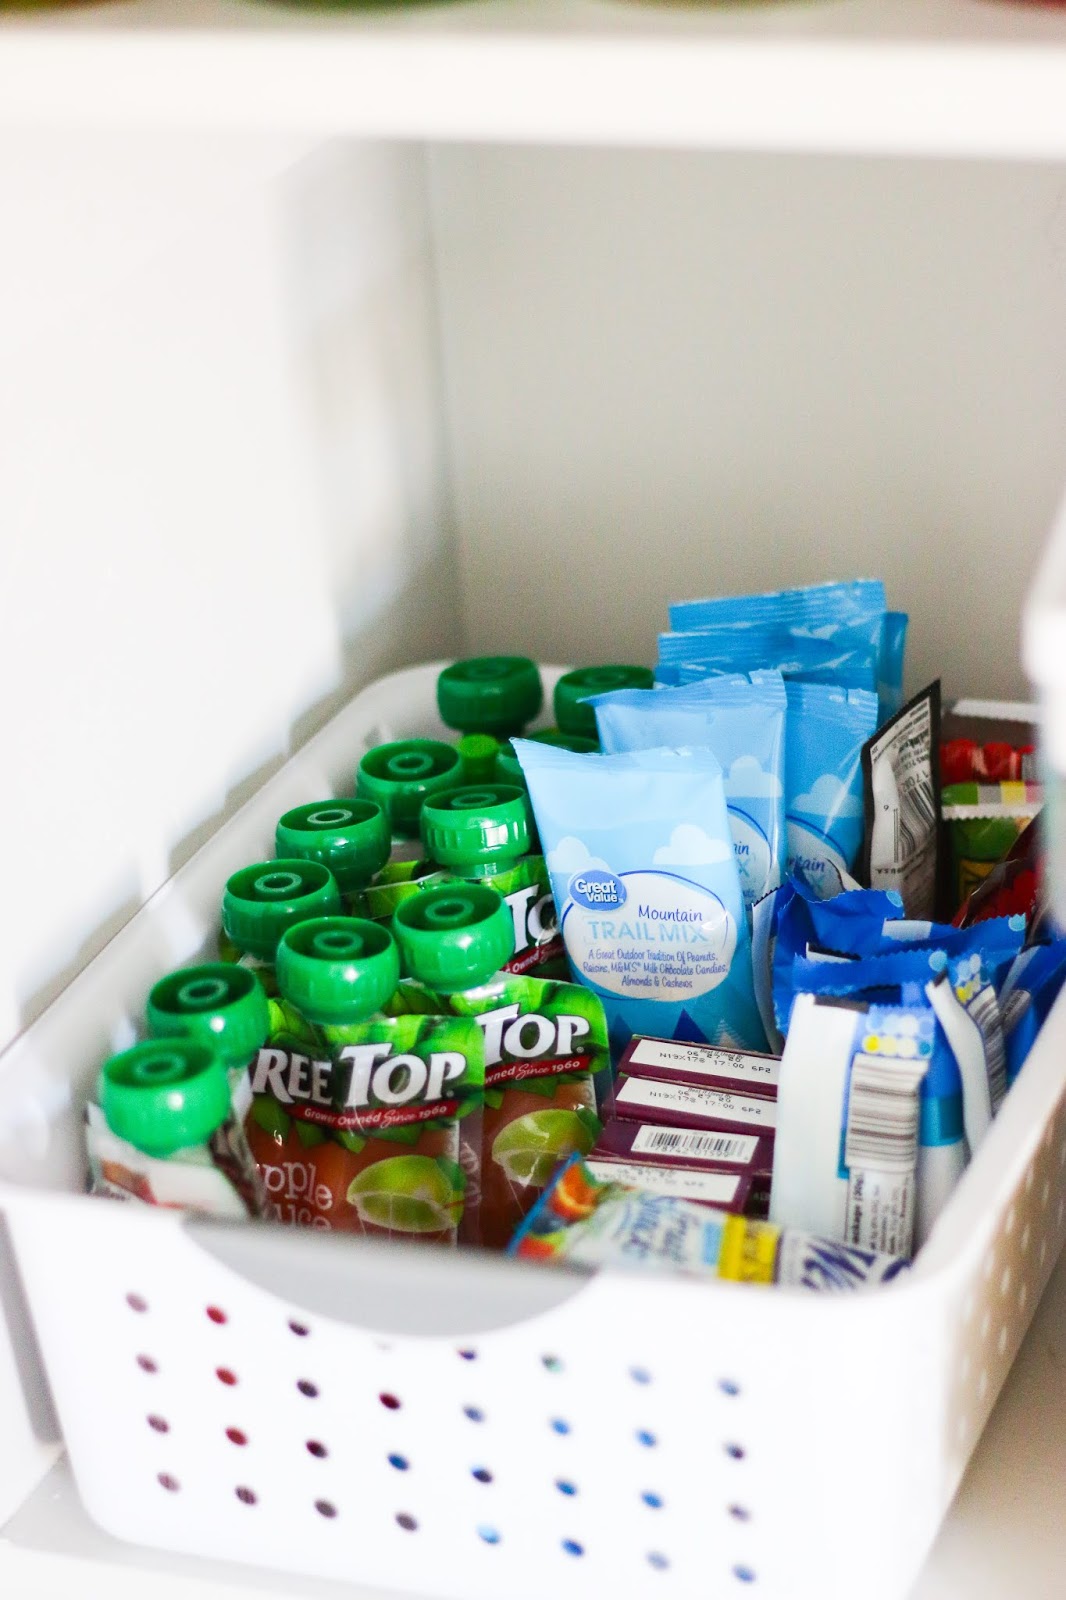
These Sterilite bins come in a six-pack on Amazon, and average a little over $4 per basket. They're a great rectangular shape with no taper which means boxes and other food items can stand up well in them. We group food items in each of these baskets and the system works well for our family. 

Cheap Small Pantry Organization Ideas

Storing Like Foods Together:

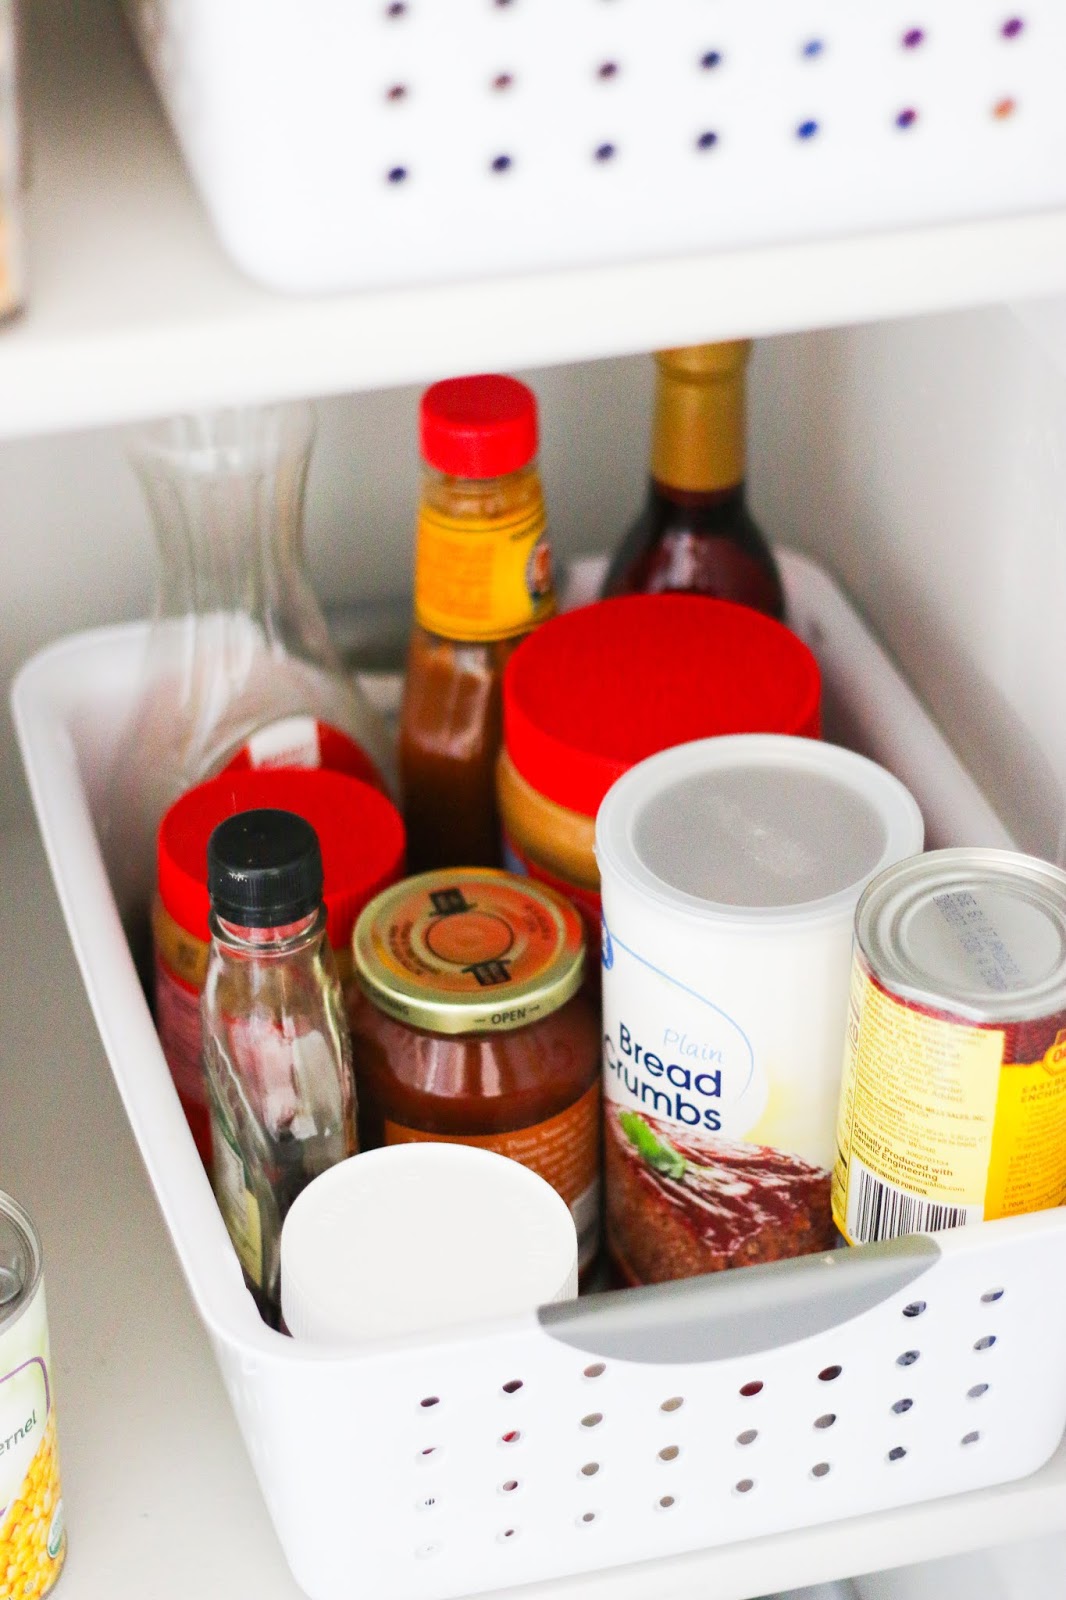
When I say we store like foods together in our baskets, I mean that each basket has a purpose. One basket is for all the kid's snacks, another just for all the different kinds of pasta. Another basket holds jars and sauces for dinners. We have a bread basket that holds just our bread and tortillas. There is a chip basket that houses all of the chips. 

My best advice is to group items that make the most sense for you and your family and see what items can be grouped well. 

Cheap Small Pantry Organization Ideas

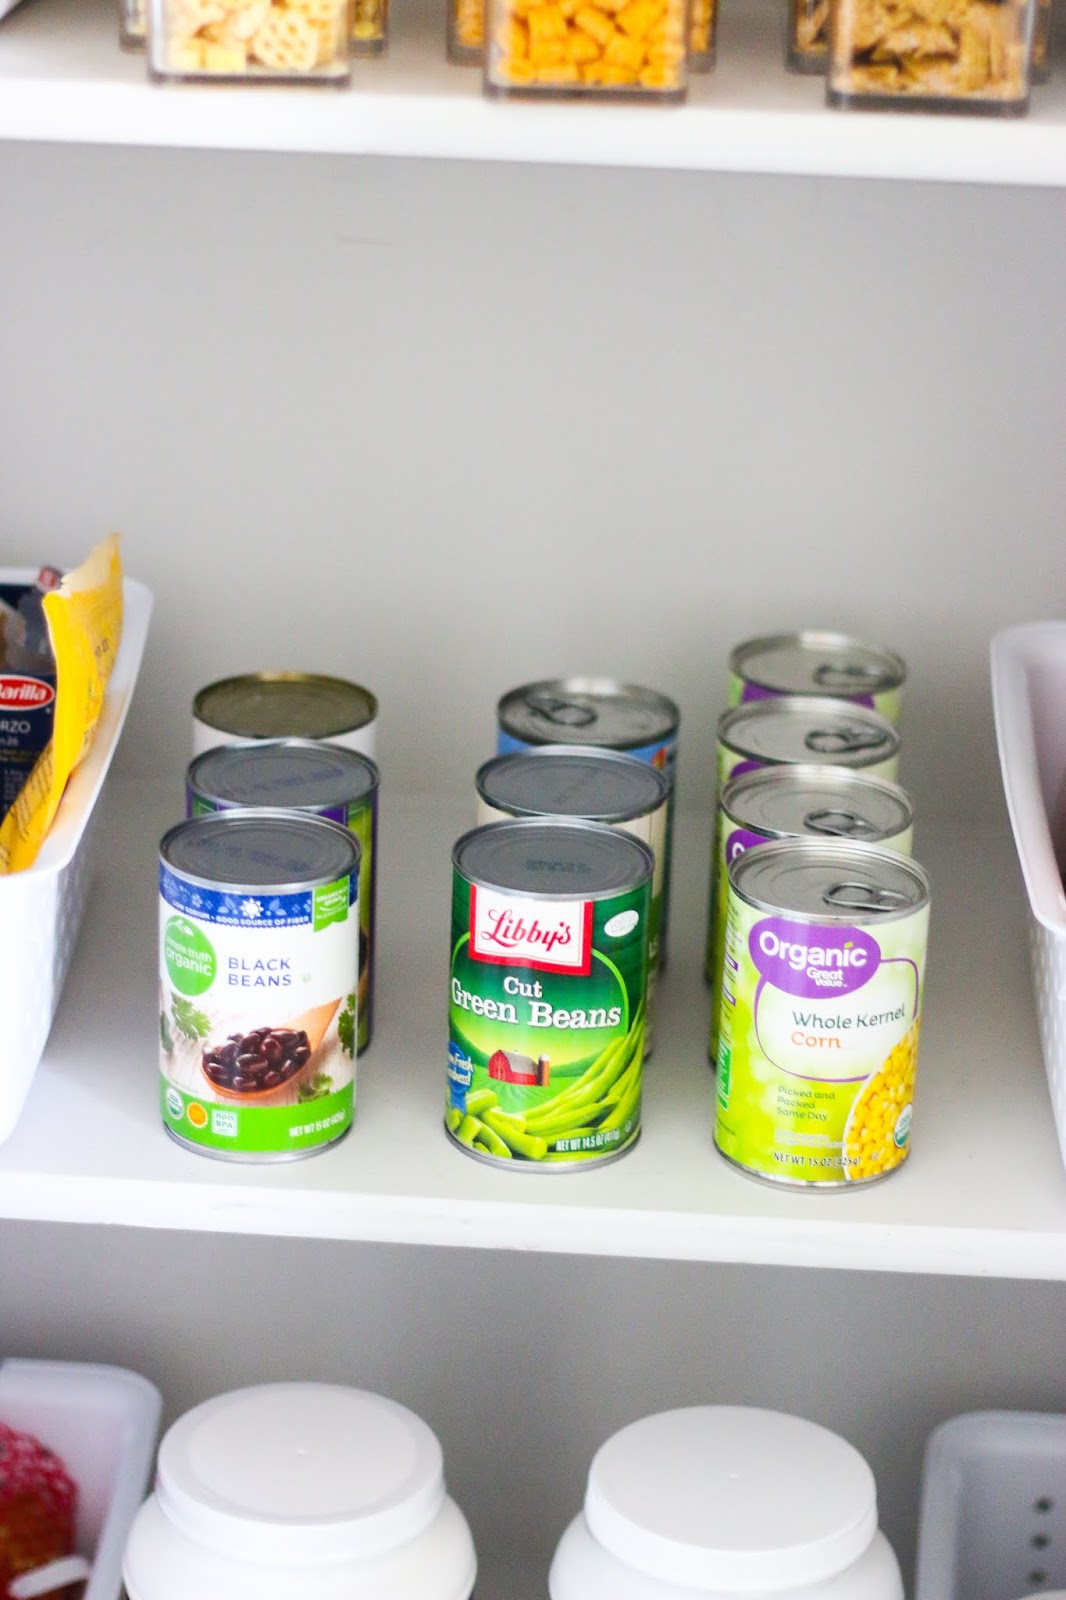
Over-the-Door Can Storage:

These pictures in this blog post were taken a few years ago in a different home, but for the most part, our pantry looks the same. The only difference is that when we moved into this home, there was a can storage unit screwed into the pantry door and it has made all the difference in the world. 

We used to keep our cans stacked in a basket as you can see in these photos, but being able to free up that space with this can holder has been a complete game changer. There are a lot of door organizers on Amazon, but this one is the most similar to the one we have in our home right now. 

Cheap Small Pantry Organization Ideas


Decide What Supplies Don't Need to be in The Pantry:

We have decided for our family that our baking supplies don't need to be stored in the pantry. We have one cabinet in the kitchen where we keep all the spices and baking supplies, and we have large canisters on the counter that house the flour, sugar, and oats. This frees up the pantry to store our most used everyday food items and prevents the pantry from getting too overcrowded. 
Cheap Small Pantry Organization Ideas

Cereal Containers Aren't Worth It:

The internet might cancel me for saying this, but we bought these cereal containers years ago and I just don't personally think they're worth it. We eat a lot of cereal in our home and go through it at such a rate that I was refilling these containers all the time. I think that the boxes having their own dedicated space is "good enough" and seeing them in their original packaging doesn't bother me that much.

Store Serving Dishes on Top Shelf:

We have a few large serving dishes and items that we use for entertaining stored on the top shelf. They are items that we're not reaching for regularly, but we have access to them if we ever need them at a moment's notice. We don't have a lot of cabinet space in the kitchen, so keeping them up here works well for us.

Cheap Small Pantry Organization Ideas

Store Appliances on the Pantry Floor:

We don't have a ton of kitchen appliances, but our pancake griddle and our fondue pot are housed on the floor of the pantry out of the way. We reach for these items regularly enough that it makes sense for them to be in the kitchen, but they're out of the way and utilizing what would otherwise be unused space.

If you liked this post,  Cheap Small Pantry Organization Ideas, you might also like:

No Churn Cookies n Cream Strawberry Ice Cream

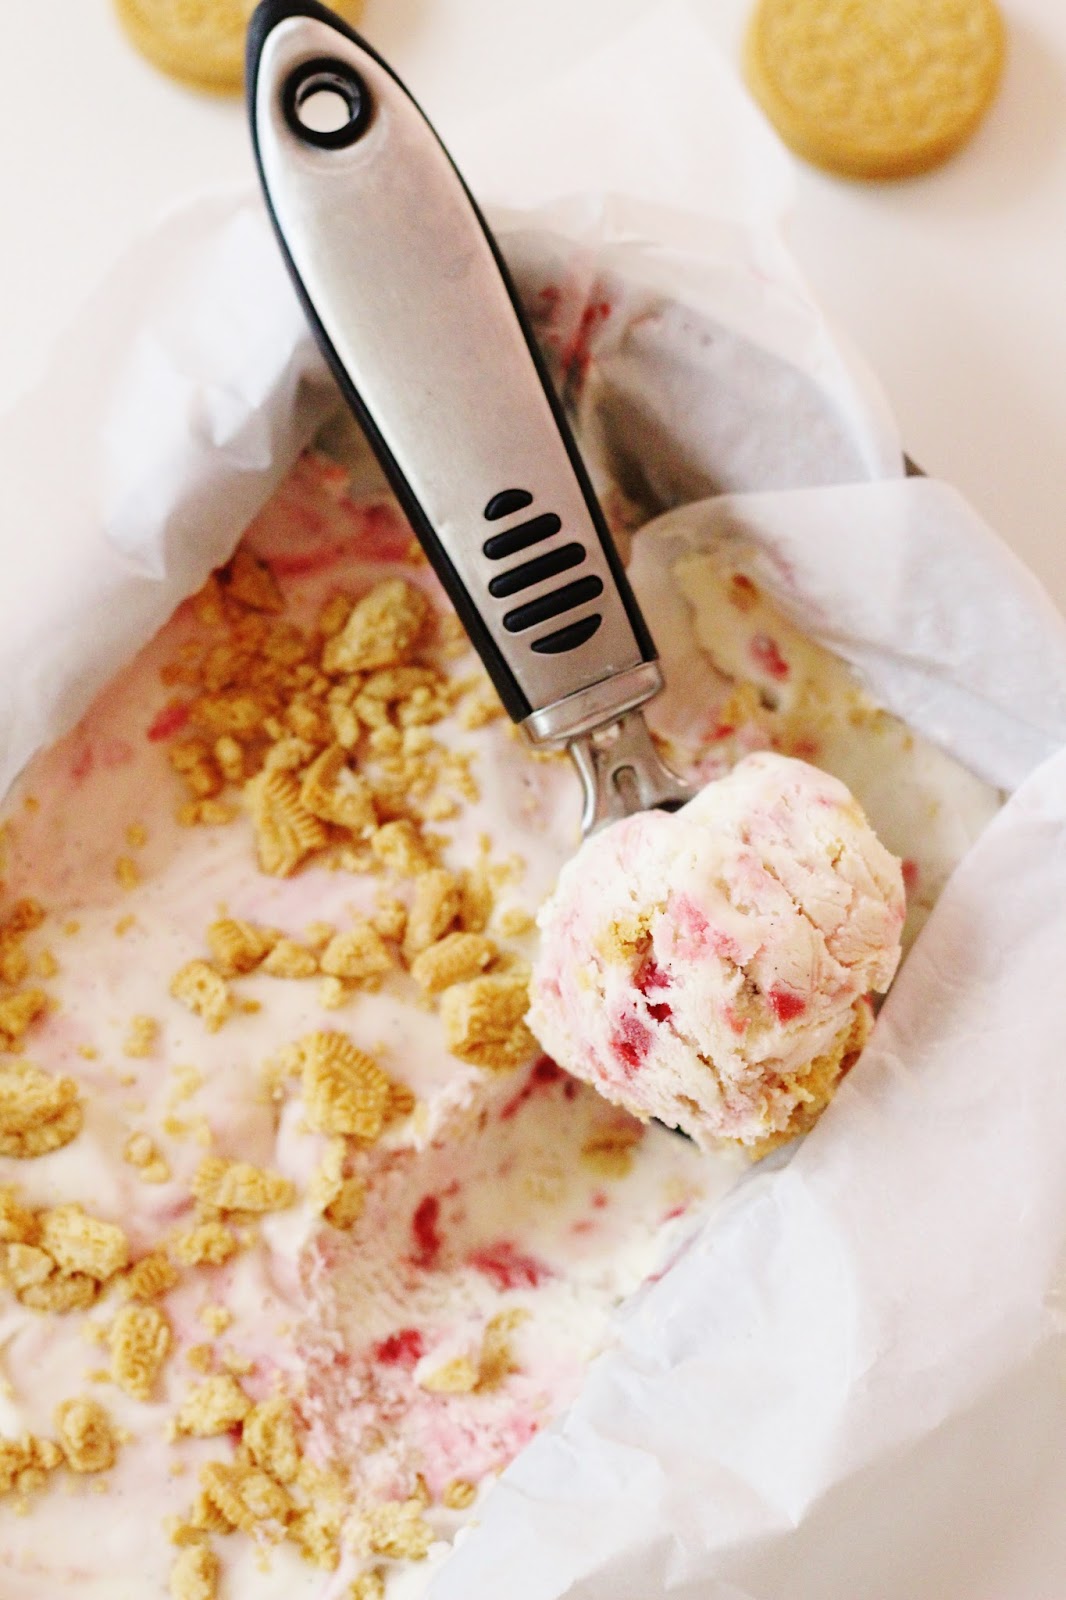
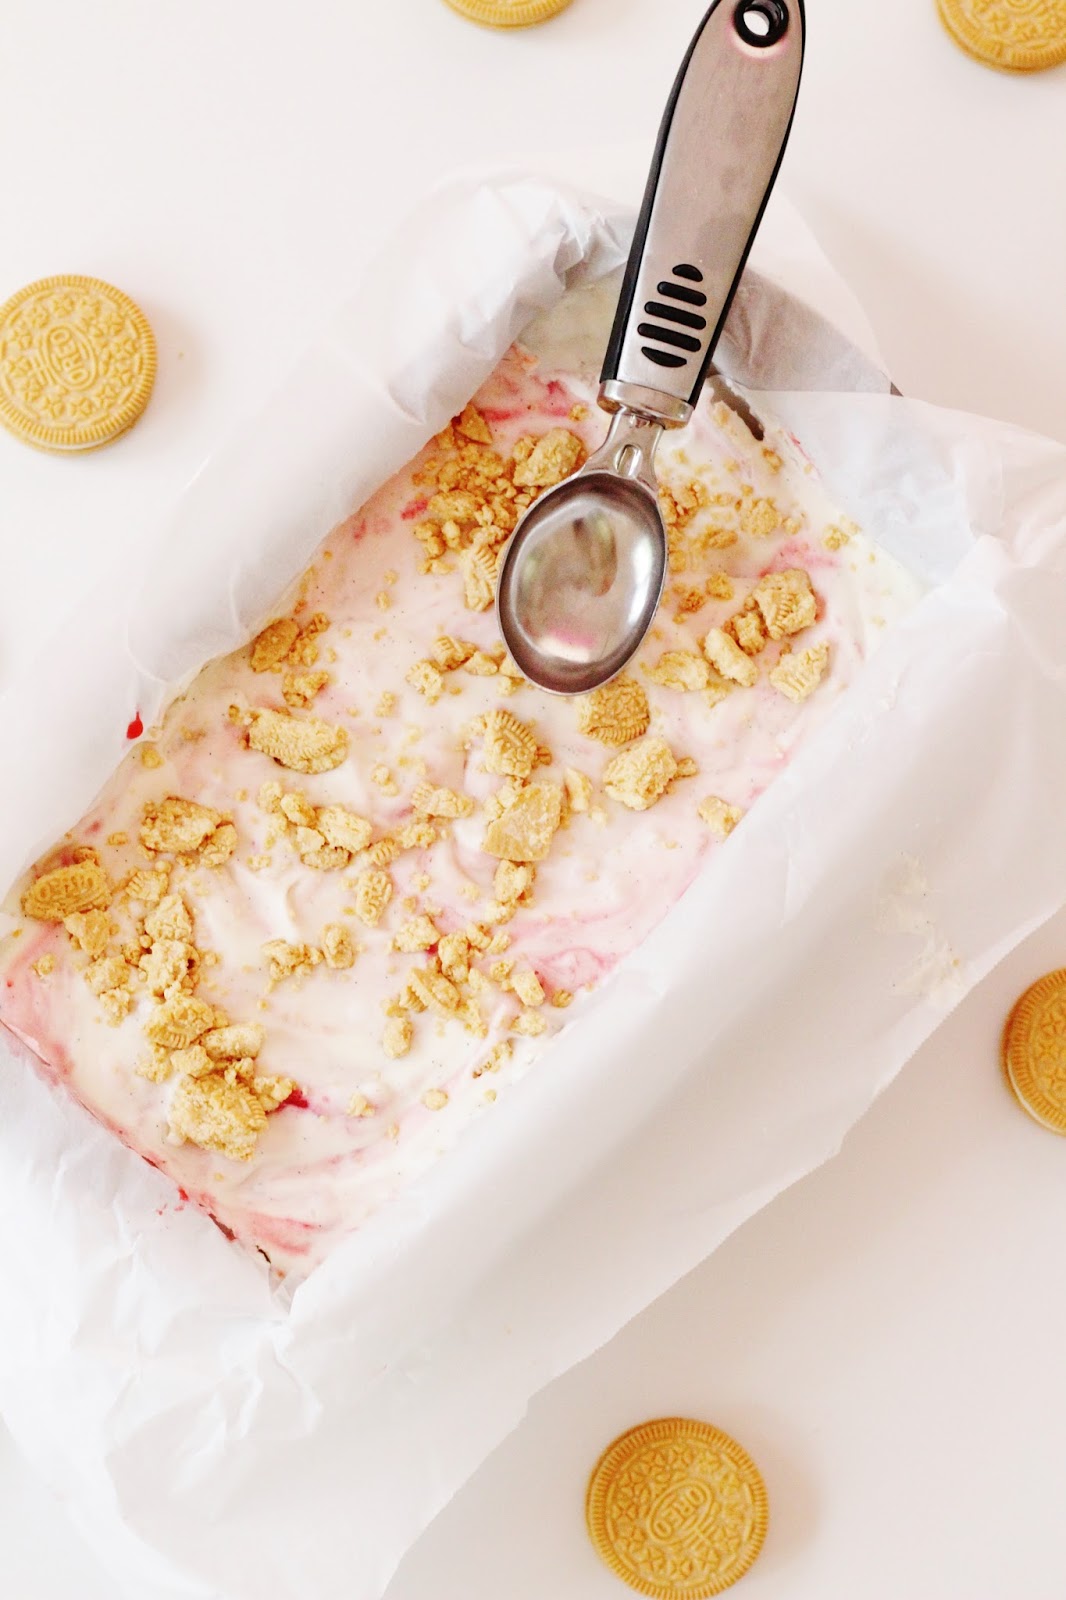
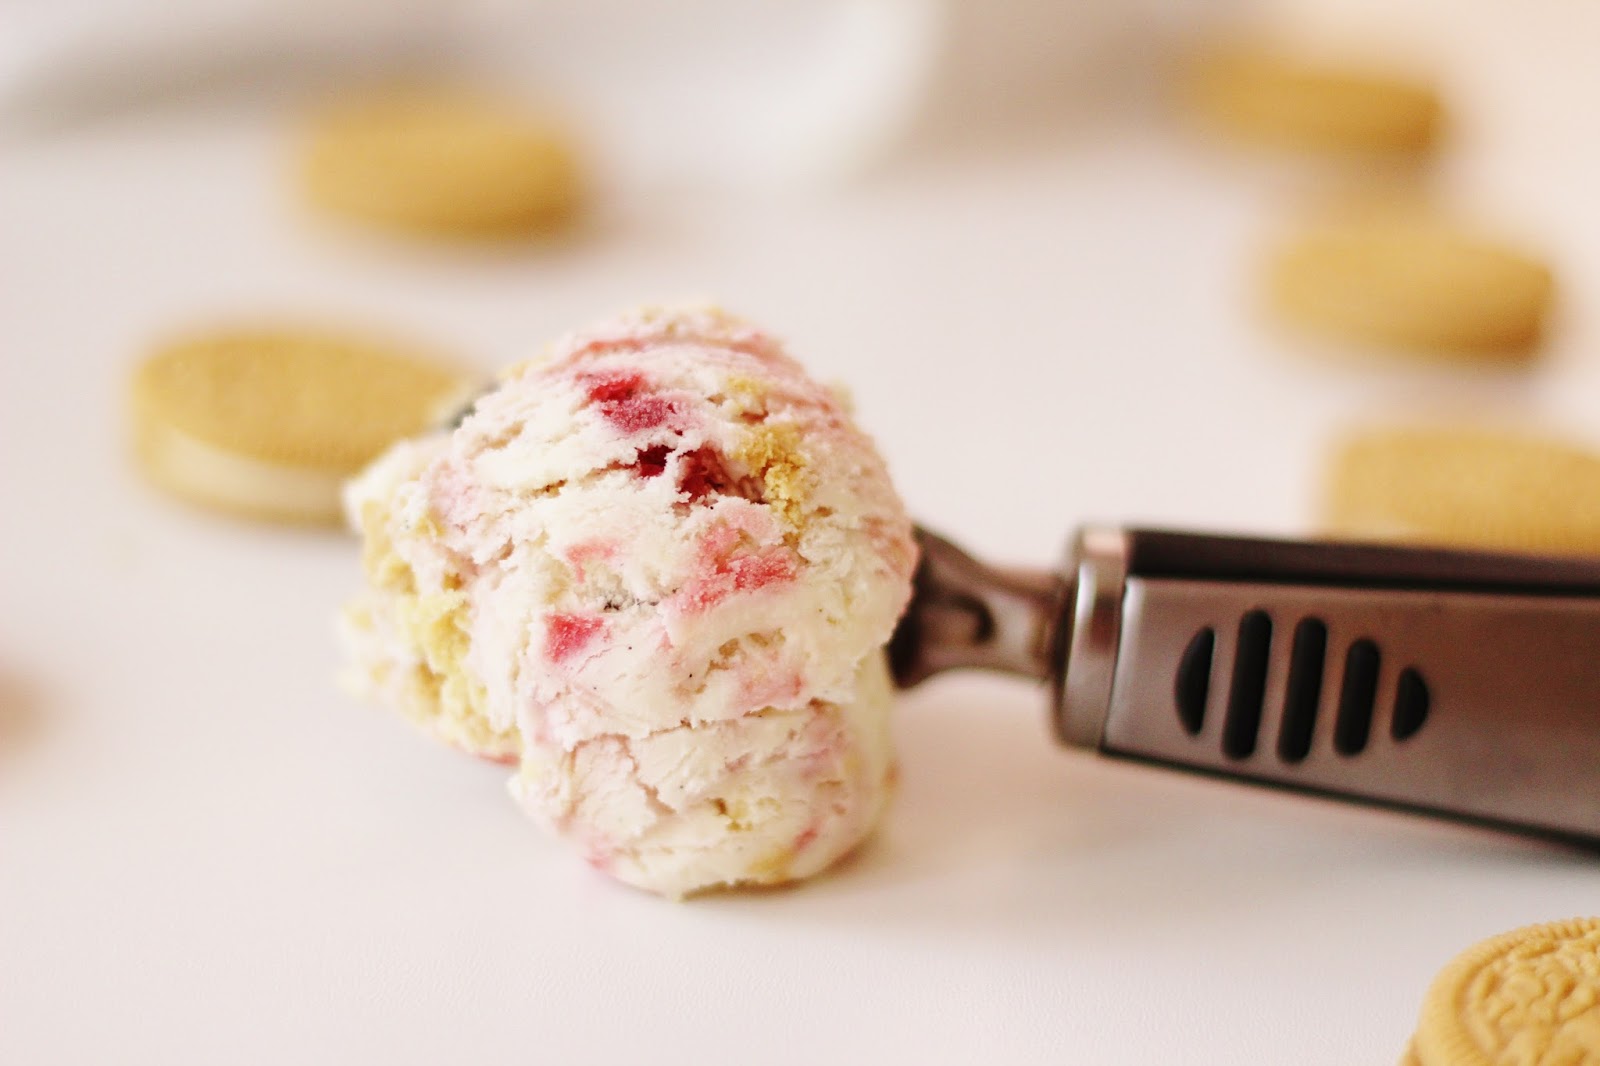
This no churn cookies n cream strawberry ice cream has been a summertime favorite recipe in our family for years and will be the perfect addition to your summer recipe lineup.

Cookies n Cream Strawberry Ice Cream

Cookies N Cream Strawberry Ice Cream:

This cookies n cream strawberry ice cream is super easy to make because it does not require an ice cream maker. The heavy whipping cream and sweetened condensed milk act as a base that you can use for a different number of ice cream flavors and combinations.

The addition of strawberries, vanilla, and golden Oreos though is the perfect summertime combination. The fruitiness from the berries and the sweetness of the ice cream are the perfect strawberry shortcake type of combination that I love.

Cookies n Cream Strawberry Ice Cream

How to Make No Churn Ice Cream:

To make no churn ice cream you simply take a pint of heavy whipping cream and then whip it until it gets to the stage where it has stiff peaks. From there you fold sweetened condensed milk into the whipping cream, and then any mix-ins that you want to incorporate.

You then transfer your ingredients into a bread pan lined with parchment paper or wax paper and then put it into the freezer to harden for several hours. It's best if you let it freeze overnight but I find at least 6 hours is preferred.

Cookies n Cream Strawberry Ice Cream

Ingredients for No Churn Cookies n Cream Strawberry Ice Cream:

  • 4 tbsp Sugar
  • 10 oz Strawberries
  • Juice of Half a Lemon
  • 1 Pint Heavy Whipping Cream
  • 1 14-ounce can Sweetened Condensed Milk
  • 2 tsp Vanilla extract
  • 1 cup Crumbled Golden Oreos
  • Seeds Scraped from One Vanilla Bean Pod

Cookies n Cream Strawberry Ice Cream

Kitchen Supplies to Make No Churn Ice Cream:

The benefit to making no-churn ice cream is that you don't need an ice cream maker in your house taking up space. There are a few supplies however that you will need such as a bread pan, an ice cream scoop, and an electric mixer to whip the whipping cream.

If you liked this post, No Churn Cookies n Cream Strawberry Ice Cream, you might also like:

7 Ways to Improve Mental and Emotional Health

If you're looking for ways to improve your mental and emotional health, it can feel overwhelming to consider all the things you could be doing and where to start. Hopefully, these six ideas can be a jumping ground for you to find the low-hanging fruit in your life where you can pick one thing you can start doing now, and slowly incorporate more tools along the way.

Ways to Improve Mental and Emotional Health

Finding Ways to Improve Mental and Emotional Health:

I want to start this post by acknowledging that my own mental and emotional health is something that I've personally struggled with for more than half my life. I want to be transparent in that I am currently taking medication for anxiety and while it's something I've resisted for a very long time, it's honestly been one of the most compassionate things I've ever done for myself.

So while I want to acknowledge that these other things I'm going to share are great things to reduce stress in your life, I also want to say that sometimes medication can be a great tool in your arsenal to help along the way.
 

Start An Exercise Routine:

I have always been an avid runner so this is very easy for me to keep up with regularly. That might not be the case for you, and the idea of running gives some more anxiety than the intent of reducing anxiety. Find a workout routine that is meaningful for you, whether that's lifting some weights in your bedroom, walking regularly, or doing yoga, find something that's easy for you to stick to.

Ways to Improve Mental and Emotional Health

Social Media Fast:

We all love social media, but I think deep down we all hate it too. If you notice your anxiety, depression, etc... is worse when you consume social media, make a plan to stay off it for a certain amount of time, or set a time limit on your phone so you can't access it after a certain time limit each day. Set a boundary and try to stick to it.

Practice Mediation to Improve Mental and Emotional Health:

Being able to sit in silence by yourself and to sit in meditation is such a challenging skill to learn and master. I find it very difficult for myself. I have learned though that being able to sit in silence and stillness is very good for me to work through thoughts, find silence in my mind, and just be able to rest.

While you can set up a yoga mat and try sitting in pure silence, I find some of my favorite ways to be in silence is by sitting in the hammock in our yard by myself. It is the perfect escape to sit in nature and practice quiet time. Find a space that will work well for you and practice being in silence. Start with just a few minutes and see how long you can work toward.

Find a Spiritual Connection:

I firmly believe as humans we are spiritual beings and we need to be connected to a higher power than ourselves. When we think we're alone in the universe and everything we do is based on our work and the own circumstances we do and don't create, I think that can be a very crippling place to be mentally.

It shouldn't be a shock to anyone that I am a Christian, so for me knowing that God is in control of all the things I cannot control is a place of comfort and I'm able to go through my life open-handed seeing what doors God is opening for me, and what doors I can walk away from knowing he goes before me in all things.

Finding where you sit spiritually can be a great way for you to rest in uncontrollable situations and find comfort when life gets difficult.

Ways to Improve Mental and Emotional Health

Start an Ice Bath Routine:

We recently got a Cold Pod in the mail and it's been a great addition to my ice bath routine that I've had for a long time now. I've taken ice baths since high school and studies show that ice baths can have many benefits including:
  • Mental and Physical Resilience
  • Discipline
  • Energy
  • Relives Stress and Anxiety
  • Reduces Migraines and Headaches

They say to reach these benefits you need to work up to 2-3 plunges a week at 10-15 minutes per session. You might need to slowly work up to that amount but the benefits are great and it's a fairly simple practice to start.

I typically make ice in my freezer and dump it into my bathtub with the coldest water. But you can purchase a cold pod on Amazon and have a dedicated vessel for it that you leave up all the time.

Unplugged Screen Free Activities:

Finding activities you can do that don't involve screens is always a great way to improve mental health. Some that I like to do are puzzles, reading, and simply going on a short walk. Being outside is one of my favorite things because I feel like it grounds me in ways that most things just don't.

These are all things I do to improve my mental health, but I also cannot stress enough the importance of working with a good therapist, and not being too prideful when it comes to medication, especially if it's something you've been working through for a long time with little progress. I hope that medication won't be a long-term forever thing for me, but I am grateful to have it as a positive tool in my life right now.

If you liked this post, 6 Ways to Improve Mental and Emotional Health, you might also like:

EASY S'mores Bar for a Party

Putting together a s'mores bar for a party is pretty simple and can be a really fun way to gather with friends and family during the warm summer months.

S'mores Bar for a Party


Easy S'mores Bar for a Party:

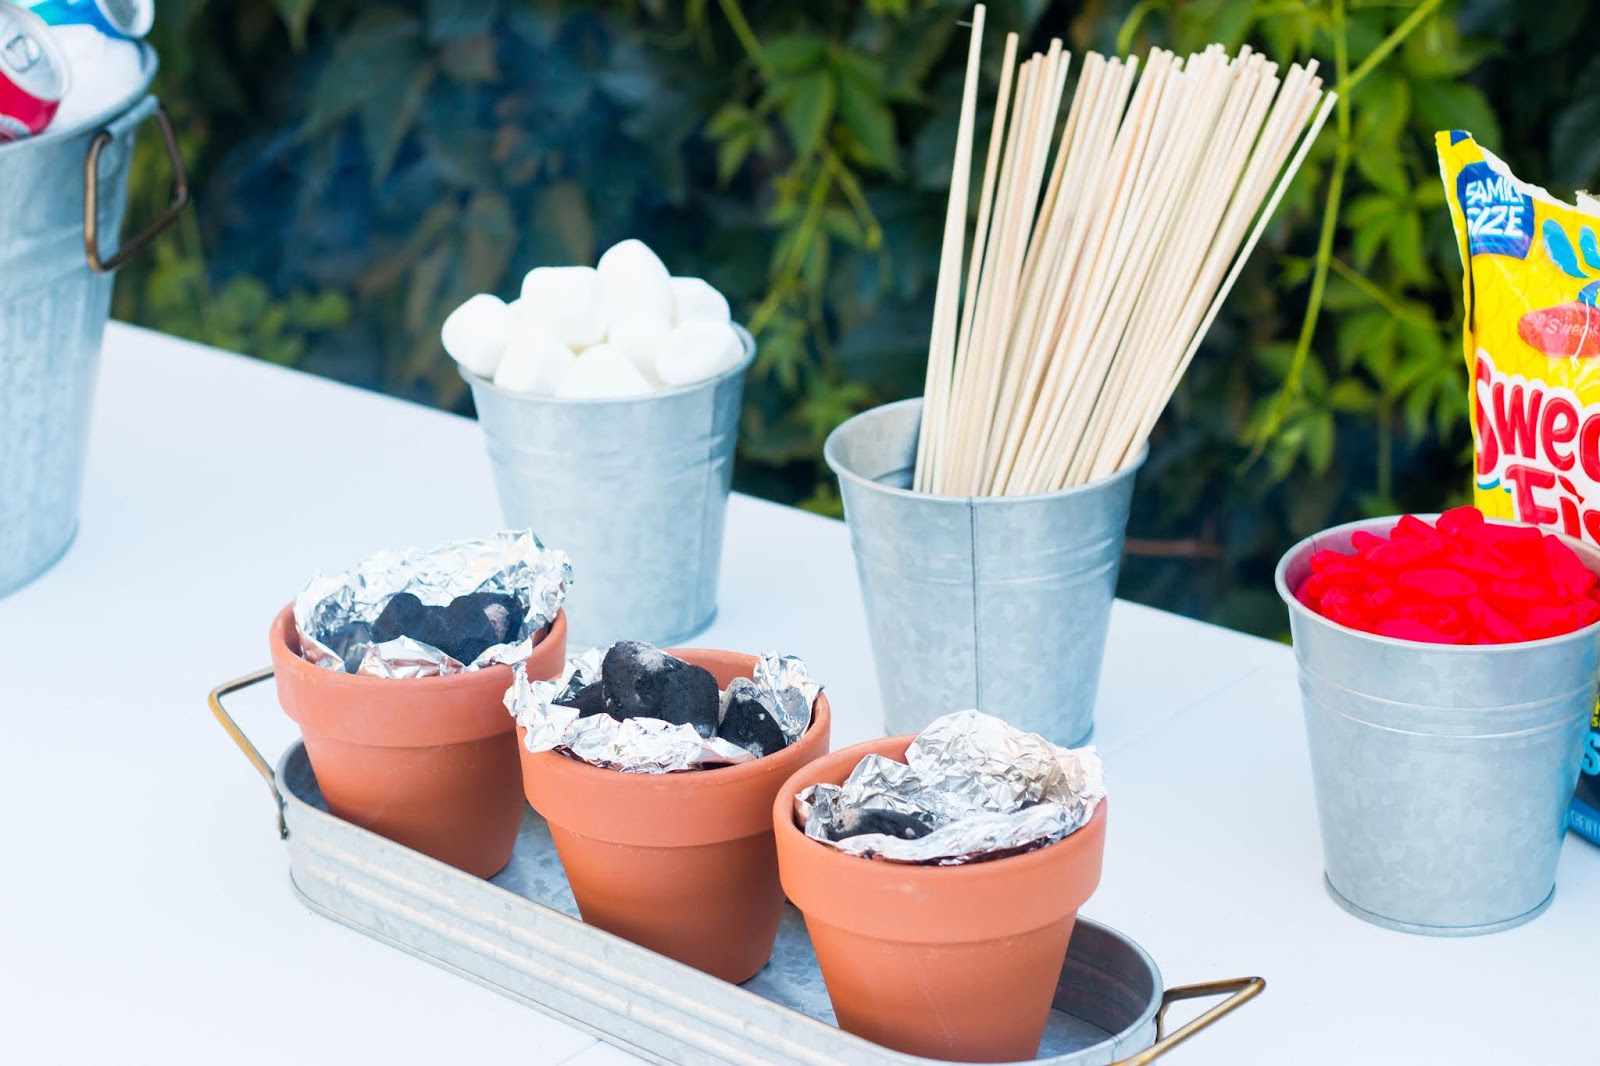
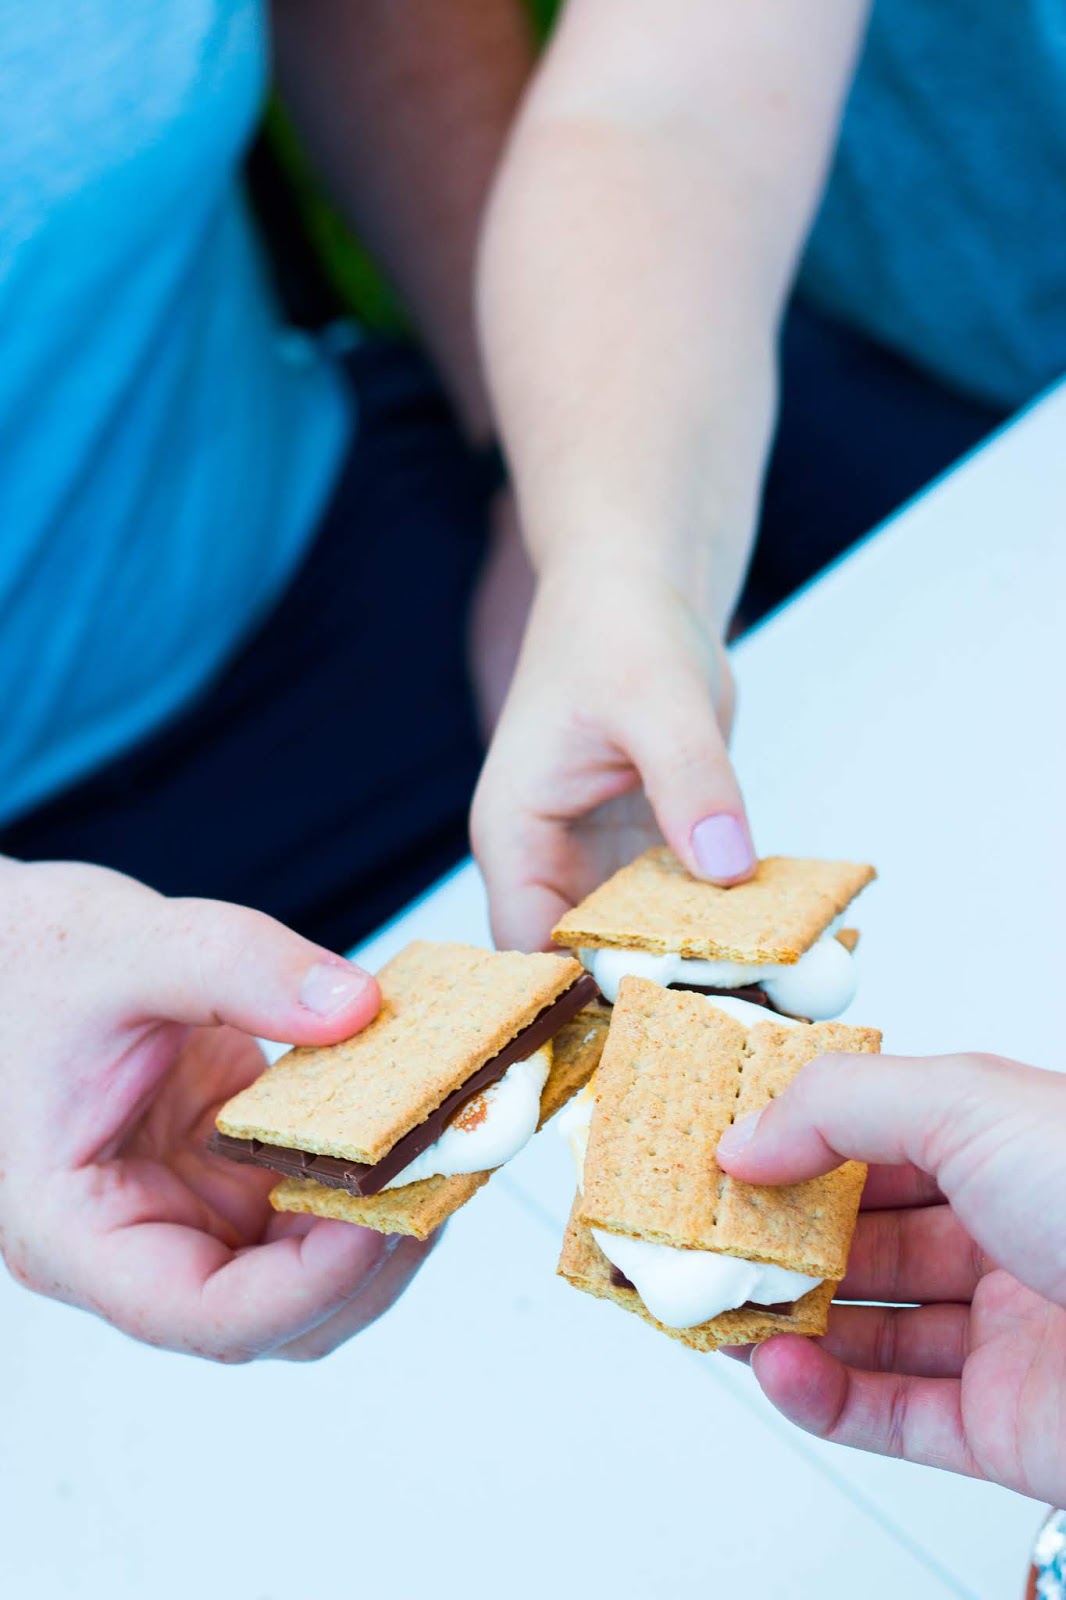
If you're planning a full-scale party or a simple gathering with friends throughout the summer, this s'mores bar is easy to put together and will be a massive hit with your family and friends. Simply set up a table with all your favorite s'more ingredients, have a heat source (either a fire pit or the fire pots shown below), and have a fun time coming up with your favorite s'more combinations and flavors.

You could take the fun factor up a notch and make a taste test game where everyone votes on their favorite flavor combinations, but that is only suggested for the most serious of s'more enthusiasts.

S'mores Bar for a Party

What You Need for a S'mores Party:

For a simple outdoor s'mores party, there are a few things you'll need to pull this off. You will need the following items:
S'mores Bar for a Party

Small Fire Pots for a S'mores Bar:

When we put together this s'mores party a few summers ago, I made these little fire pots with things I gathered from the dollar store. To make them simply take a small terra cotta flower pot, line it with tin foil, put some paper and charcoal on the inside, and then light the fire. I put these in a metal tray in case they got hot so the table wouldn't melt, but that ended up not being a huge issue and it went well.


These were fun because we were able to set up multiple heat sources at one time and multiple people could make a s'more at once instead of having to wait one at a time to make the s'mores. It was fun for kids and adults to gather around and make marshmallows to their heart's content.

S'mores Bar for a Party

Unique Fixings for S'mores Bar:

  • Milk Chocolate
  • Marshmallows
  • Coconut Cookies
  • Chocolate Chip Cookies
  • Graham Crackers
  • Reese's Chocolate
  • Strawberries
  • Bananas
  • Pretzel Thins
  • White Chocolate
  • Thin Mints

S'mores Bar for a Party

If you liked this post, EASY S'mores Bar for a Party, you might also like:

Homemade Pizza Bagel Bites with Greek Yogurt

Homemade pizza bagel bites with Greek yogurt are a healthy spin on a delicious snack that we've all grown up loving. The Greek yogurt ups the protein and nutrition value without detracting from the taste of this classic snack.

Pizza Bagel Bites with Greek Yogurt

Homemade Pizza Bagel Bites with Greek Yogurt:

A few years ago I made some everything bagels with Greek yogurt and was shocked by how well they turned out. While I might not have had much success getting my kids to eat an everything bagel, I quickly thought that I could turn them into pizza bagel bites. Turns out my kids LOVED this idea, and this has become a go-to recipe in our home since.

The Greek yogurt gives the dough an amazing texture, adds so much protein to the dish, and adds zero flavor differential. That's my kind of healthy recipe when you can't tell it's there.

Making the Bagel Bite Dough:

To make the dough for these bagel bites you will simply combine the flour, baking powder, greek yogurt, and salt in a bowl. Then you will form the dough into a ball, roll it out on the counter, and then I used the mouth of a kid-size plastic cup to cut the dough into circles. I then used the handle of a spoon to work a small hole into the center of the dough.

Before the bagels go into the oven, brush them with a whisked egg so they get that traditional bagel shine. They will then bake in a 375º oven for 18 minutes. Once they're cooled you can cut them in half, and make your pizza bagel bites.

I usually get 12 mini bagels when I do this, which yields 24 pizza bagel bites when they're cut in half and prepared for your family.

Pizza Bagel Bites with Greek Yogurt

Fun Tips For Making Pizza Bagel Bites:

Let your family get in on the action: This is a great recipe to make with your kids and they will love topping their bagels with all of their favorite toppings.

Don't Go Too Heavy On the Toppings: That being said, don't stack the toppings too high or else they won't warm up all the way through when you put them in the broiler to melt the cheese, a single layer of toppings is perfect.

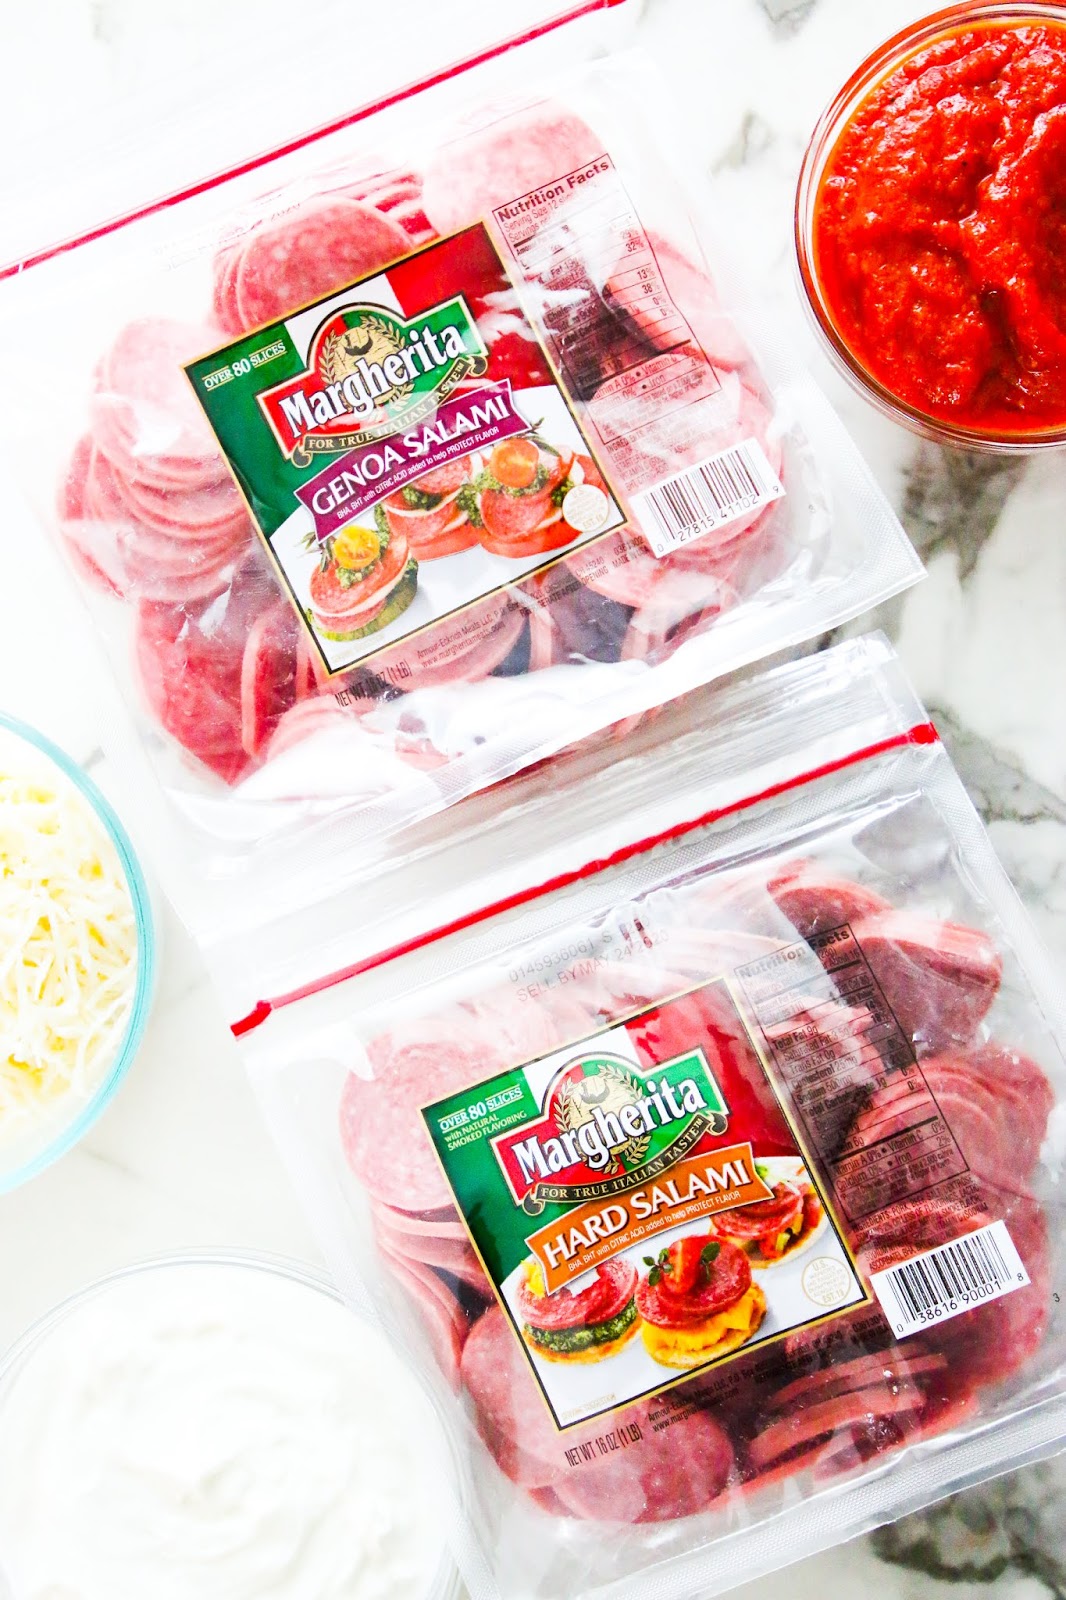
Have fun with the toppings: We just used salami in these photos but you can do veggies, pepperoni, sausage, olives, and red pepper flakes, the sky is the limit.

Pizza Bagel Bites with Greek Yogurt

The Best Baking Sheet for the Kitchen:

I used a lot of cheap and terrible baking sheets in our marriage until I finally bought these Nordic Ware baking sheets. They are strong, thick, and sturdy. They don't warp in the oven when baking with high heat, and they just cook everything so evenly. They have been one of the best investments I made in my kitchen and have stood the test of time since I bought them back in 2018.

Print

Homemade Pizza Bagel Bites with Greek Yogurt

Yield: 10
Author: Paige Flamm
Prep time: 10 MinCook time: 18 MinTotal time: 28 Min
Homemade Pizza Bagel Bites with Greek Yogurt come together with flour and non-fat plain Greek Yogurt. Your kids will love eating healthy pizza bagel bites after school!

Ingredients

Instructions

  1. Preheat oven to 375 degrees.
  2. In a large mixing bowl, whisk together the flour, baking powder, and salt. Next, add in the greek yogurt and stir with a mixing spoon, or with your hands to bring the dough together.
  3. Flatten the dough out onto a lightly floured surface, it should be about a 1/2 inch thick. Using a small bowl or a cup, cut out small circles into the dough. Bringing the dough back into a ball and flattening back out as needed to use it all up. I got 12 bagels out of mine.
  4. On a parchment lined baking sheet, place all your mini bagels onto the pan. Whisk your egg, and then using a cooking brush, lightly brush the tops of each of the bagel with the egg.
  5. Bake in the oven for 18 minutes.
  6. Once baked, pull your bagels out, cut in half, spread a little sauce, cheese, and your favorite toppings onto each bagel. 
  7. Broil in the oven for 2-3 minutes until all the cheese is melted, and then serve!

If you liked this post, Healthy Pizza Bagel Bites, you might also like: